

Hydration Bladder Cleaner: How To Use It Correctly
Hydration Bladder Cleaner: How To Use It Correctly
⏱ 8 min read
Does a hydration bladder cleaner really prevent odors and mold?
A hydration bladder cleaner helps remove bacteria, lingering tastes, and hidden moisture that often lead to bad smells and hydration pack tube mold buildup. When combined with proper drying and regular maintenance, it can extend reservoir life, improve water taste, and make wide mouth hydration bladder easy clean routines much faster after hiking, camping, or travel.
Hydration bladder cleaner routines can dramatically extend gear life while improving water taste on every adventure. Learn smart tricks for wide mouth hydration bladder easy clean methods, maintaining BPA free water reservoir clean habits, and stopping hydration pack tube mold buildup before it ruins your next hike. From drying shortcuts to overlooked sanitizing steps, these practical tips help prevent odors, bacteria, and stubborn stains with less effort than most people expect.
Ever taken a sip from your hydration pack during a hike and noticed a strange plastic taste or musty odor? That small warning sign usually means moisture or bacteria has been sitting inside your reservoir longer than expected.
Whether you're backpacking through mountain trails, road-tripping across national parks, or training outdoors in summer heat, keeping your hydration system sanitary matters more than many people realize.
👉 Discover must-have camping gear before your next outdoor trip.
Hydration & Food and Backpacking & Carry collections help organize hydration essentials for hiking, camping, and travel.
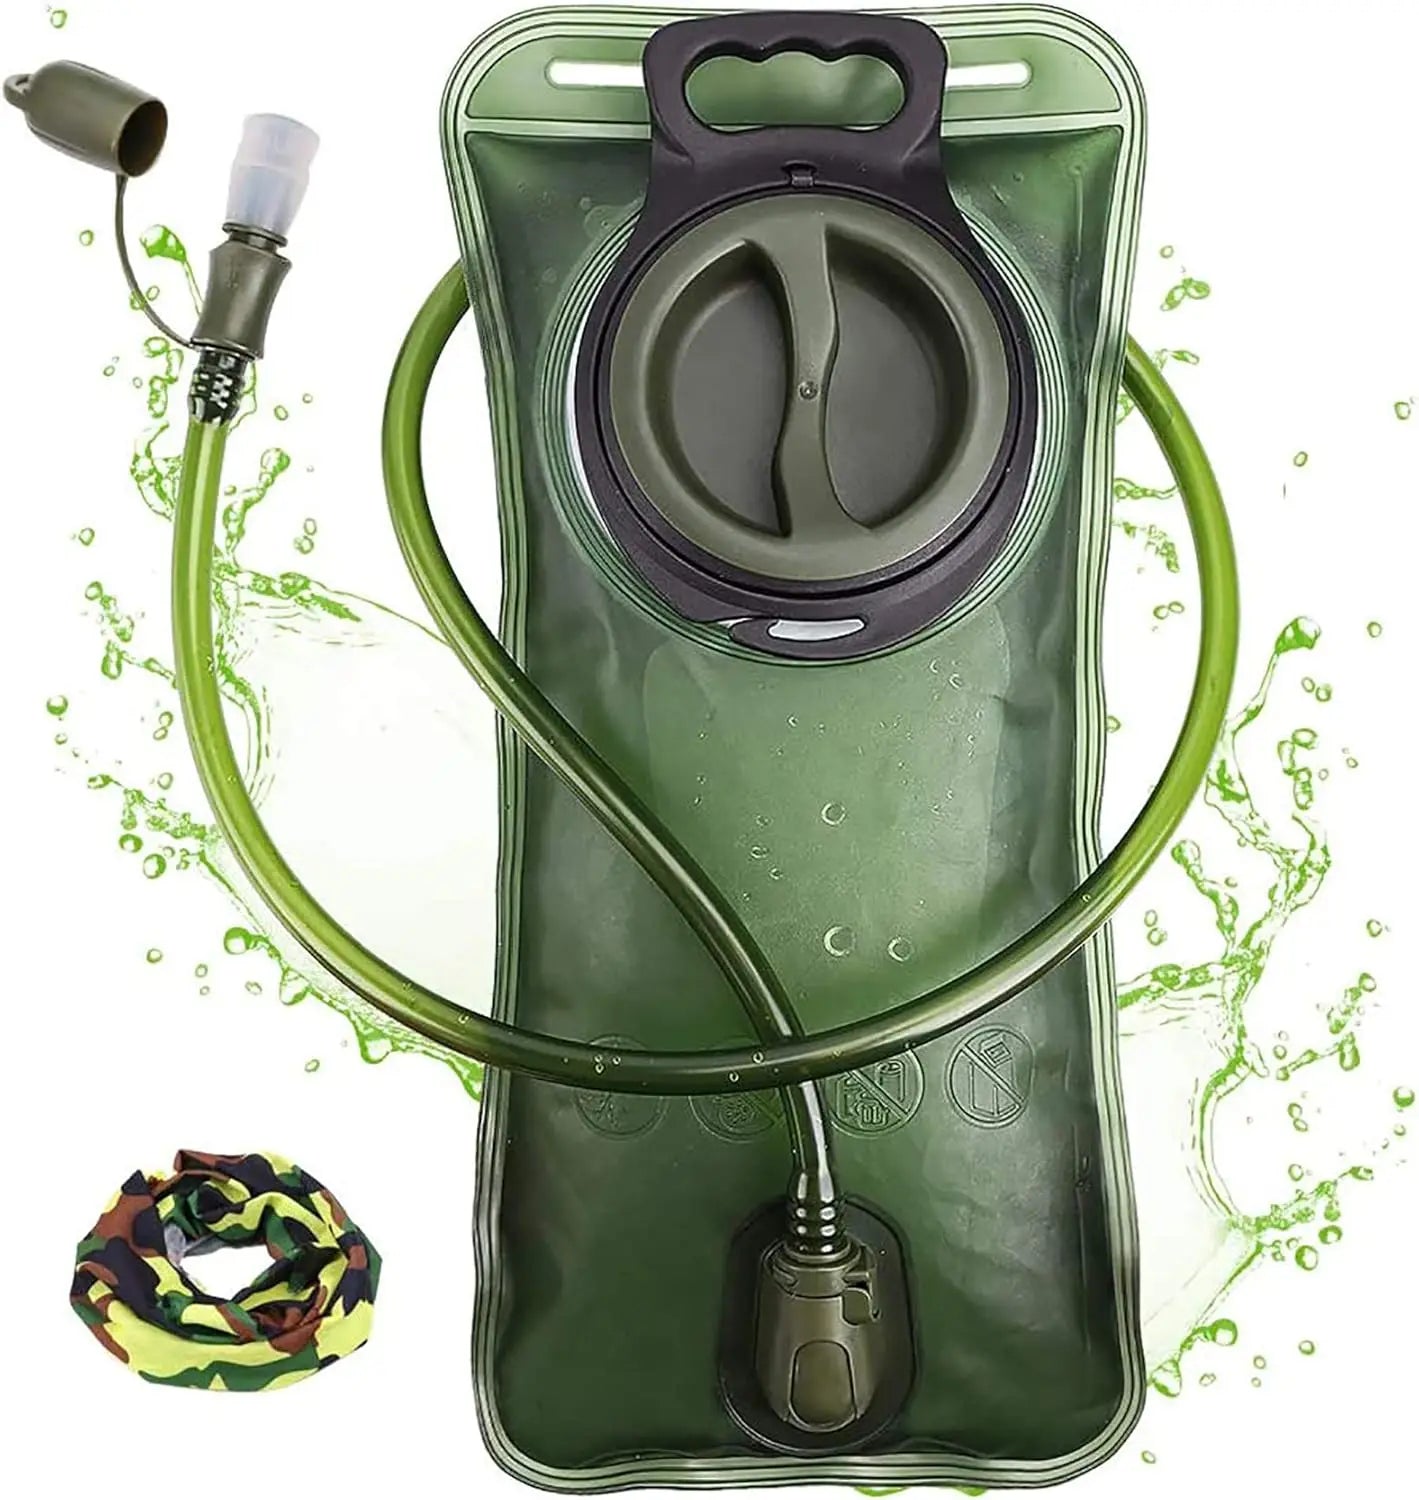
💡 See it in action
Why Cleaning Your Hydration Reservoir Matters
A hydration bladder cleaner removes hidden bacteria, stale moisture, and residue that often build up inside reservoirs and drinking tubes. Regular cleaning improves water taste, helps maintain BPA free water reservoir clean conditions, and reduces the risk of hydration pack tube mold buildup after outdoor trips.
Most outdoor users rinse their bladder quickly and assume it is clean. Unfortunately, dark tubing and folded reservoir corners trap moisture surprisingly well.
That creates ideal conditions for:
- Mold growth inside drinking tubes
- Lingering plastic or sour smells
- Bacterial contamination
- Cloudy residue buildup
- Reduced water flow
Many hikers notice problems after leaving sports drinks or electrolyte mixes inside overnight. Sugary liquids accelerate buildup dramatically.
| Problem | Likely Cause | Best Solution |
|---|---|---|
| Musty smell | Moisture trapped after use | Complete drying routine |
| Black spots in tube | Mold buildup | Tube brush cleaning |
| Plastic taste | Old residue or poor rinsing | Deep cleaning tablets |
| Sticky interior | Electrolyte drink residue | Warm water sanitizing |
Outdoor travelers who regularly clean hydration systems often report noticeably fresher water during long hikes and summer adventures.
How To Use a Hydration Bladder Cleaner Correctly
A hydration bladder cleaner works best when used immediately after outdoor activities. Proper cleaning includes rinsing, scrubbing hidden areas, sanitizing tubing, and fully drying every component before storage. This process helps prevent odors, bacteria growth, and difficult hydration pack tube mold buildup.
1. Empty the Reservoir Completely
Drain all remaining water immediately after returning from your hike or workout.
Never leave sports drinks or flavored mixes sitting overnight. Residue hardens quickly and encourages bacteria growth.
2. Rinse With Warm Water
Use warm water instead of hot boiling water, which may damage reservoir materials over time.
Shake thoroughly to loosen dirt or lingering residue.
3. Use Cleaning Tablets or a Cleaning Solution
- Fill the bladder halfway with warm water
- Add the hydration bladder cleaner solution
- Seal the reservoir
- Shake gently for 30 seconds
- Let it sit for 15–30 minutes
This helps break down hidden buildup inside corners and seams.
4. Scrub the Tube and Bite Valve
The tube is often the dirtiest part of the entire hydration system.
Use a narrow cleaning brush to remove buildup from inside the hose. Pay extra attention to the bite valve where saliva and moisture combine.
Many experienced backpackers clean the tube after every multi-day trip to stop hydration pack tube mold buildup early.
👉 Learn how to choose the right hiking gear for cleaner hydration and easier trail organization.
Pair your reservoir setup with Waterproof & Dry Bags, Gear Organizers & Pouches, and Lightweight Daypacks for better outdoor efficiency.
If your current reservoir is difficult to clean or dry properly, a 2L hydration bladder with a wider opening can simplify maintenance dramatically.
5. Rinse Thoroughly Again
Leftover cleaning residue can affect water taste during your next trip.
Flush the reservoir and tube several times until the water runs clear and odor-free.
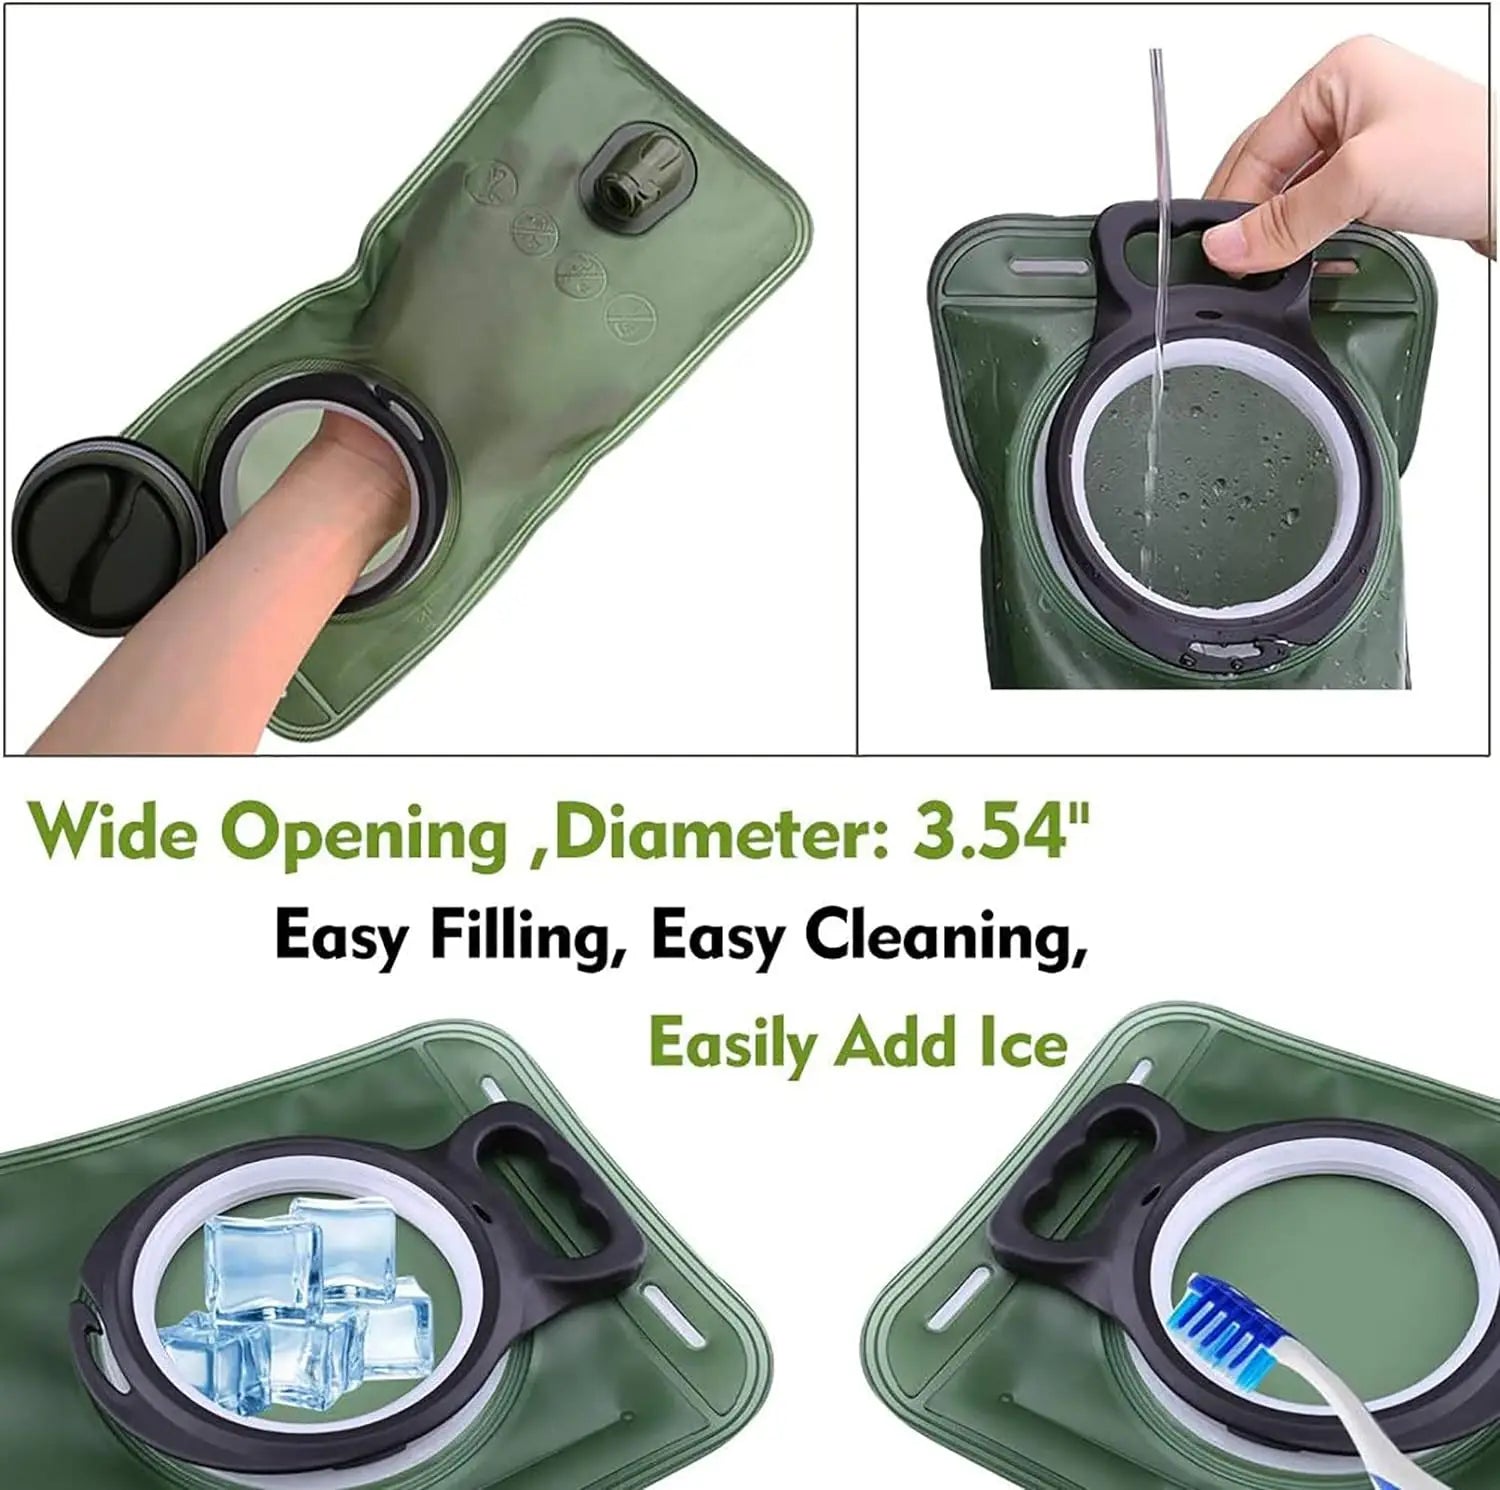
💡 See it in action
Common Mistakes That Cause Mold and Odors
A hydration bladder cleaner cannot fully help if poor habits continue after washing. The biggest causes of mold and odor include storing damp reservoirs, skipping tube cleaning, and sealing the bladder before it dries completely.
What gear actually makes camping easier? Often, it is the gear you maintain properly.
Here are the most common cleaning mistakes outdoor users make:
- Storing the bladder while still wet
- Ignoring the bite valve during cleaning
- Using sugary drinks without deep cleaning afterward
- Leaving water inside during hot weather
- Folding the bladder tightly before drying
- Cleaning only the reservoir but not the tube
One backpacker described opening a neglected reservoir before a weekend trip and finding visible black mold inside the hose. The entire hydration system had to be replaced.
Simple prevention is far easier than recovering contaminated gear.
Best Drying Techniques for Faster Results
Drying is often more important than washing.
Even a perfectly cleaned bladder can develop odor if trapped moisture remains inside.
Use Airflow To Your Advantage
Hang the reservoir upside down with the opening spread wide.
Many hikers place paper towels inside temporarily to absorb excess moisture faster.
Separate Every Component
- Detach the hose
- Remove the bite valve
- Open the cap fully
- Keep the bladder expanded while drying
Freeze Between Trips
Some outdoor travelers store reservoirs in the freezer after cleaning. Cold temperatures slow bacterial growth and reduce odor risks between adventures.
This technique works especially well for frequent hikers using hydration systems every weekend.
| Drying Method | Advantages | Best For |
|---|---|---|
| Air drying rack | Fast ventilation | Daily use |
| Paper towel stuffing | Absorbs moisture quickly | Humid climates |
| Freezer storage | Reduces bacteria growth | Frequent outdoor use |
| Wide-mouth drying | Improves airflow | Large reservoirs |
Why Wide Mouth Reservoirs Are Easier To Maintain
Wide mouth hydration bladder easy clean designs simplify nearly every maintenance step.
You can reach interior corners more easily, improve airflow during drying, and reduce trapped moisture significantly.
Compared to narrow openings, wide-mouth systems allow:
- Faster cleaning access
- Better visibility inside the reservoir
- Easier scrubbing
- Improved drying airflow
- Quicker refilling during hikes
Outdoor athletes often prefer wide-mouth reservoirs because they save time after demanding training sessions.
If you camp regularly, pairing hydration gear with Camping Storage & Boxes and Food Storage Bags & Containers can also help keep cleaning tools organized and sanitary.
How Often Should You Clean a Hydration Bladder?
A hydration bladder cleaner should ideally be used after every extended outdoor trip or whenever flavored drinks are stored inside. Regular maintenance prevents bacteria buildup, keeps water tasting fresh, and helps maintain BPA free water reservoir clean conditions throughout the year.
Recommended Cleaning Frequency
| Usage Type | Cleaning Frequency |
|---|---|
| Water only | Every 2–3 uses |
| Electrolyte drinks | After every use |
| Multi-day camping trips | Immediately after returning |
| Long-term storage | Before and after storage |
Families preparing for camping season often create a quick post-trip cleaning routine to avoid unpleasant surprises during the next adventure.
Keeping your hydration setup organized alongside Camping & Picnic gear can make post-trip cleanup far more manageable.
👉 Get your hydration setup ready before your next trip.
Upgrade with a reliable 2L hydration bladder and organize outdoor essentials using Car Camping Accessories and Foldable Travel Gear.
Smart Storage Tips for Long-Term Hygiene
Many hydration problems begin during off-season storage.
After cleaning and drying:
- Store the reservoir fully open
- Keep components separated
- Avoid warm, humid closets
- Check tubing monthly for moisture
- Re-rinse before the next outdoor trip
Campers traveling through humid southern climates in the US often notice faster odor buildup if reservoirs remain sealed in garages or vehicle trunks.
Ventilation matters.
Combining clean hydration habits with smart organization systems from Travel, Car & Road Trip and Car Organizers & Storage collections can reduce clutter while protecting gear between adventures.
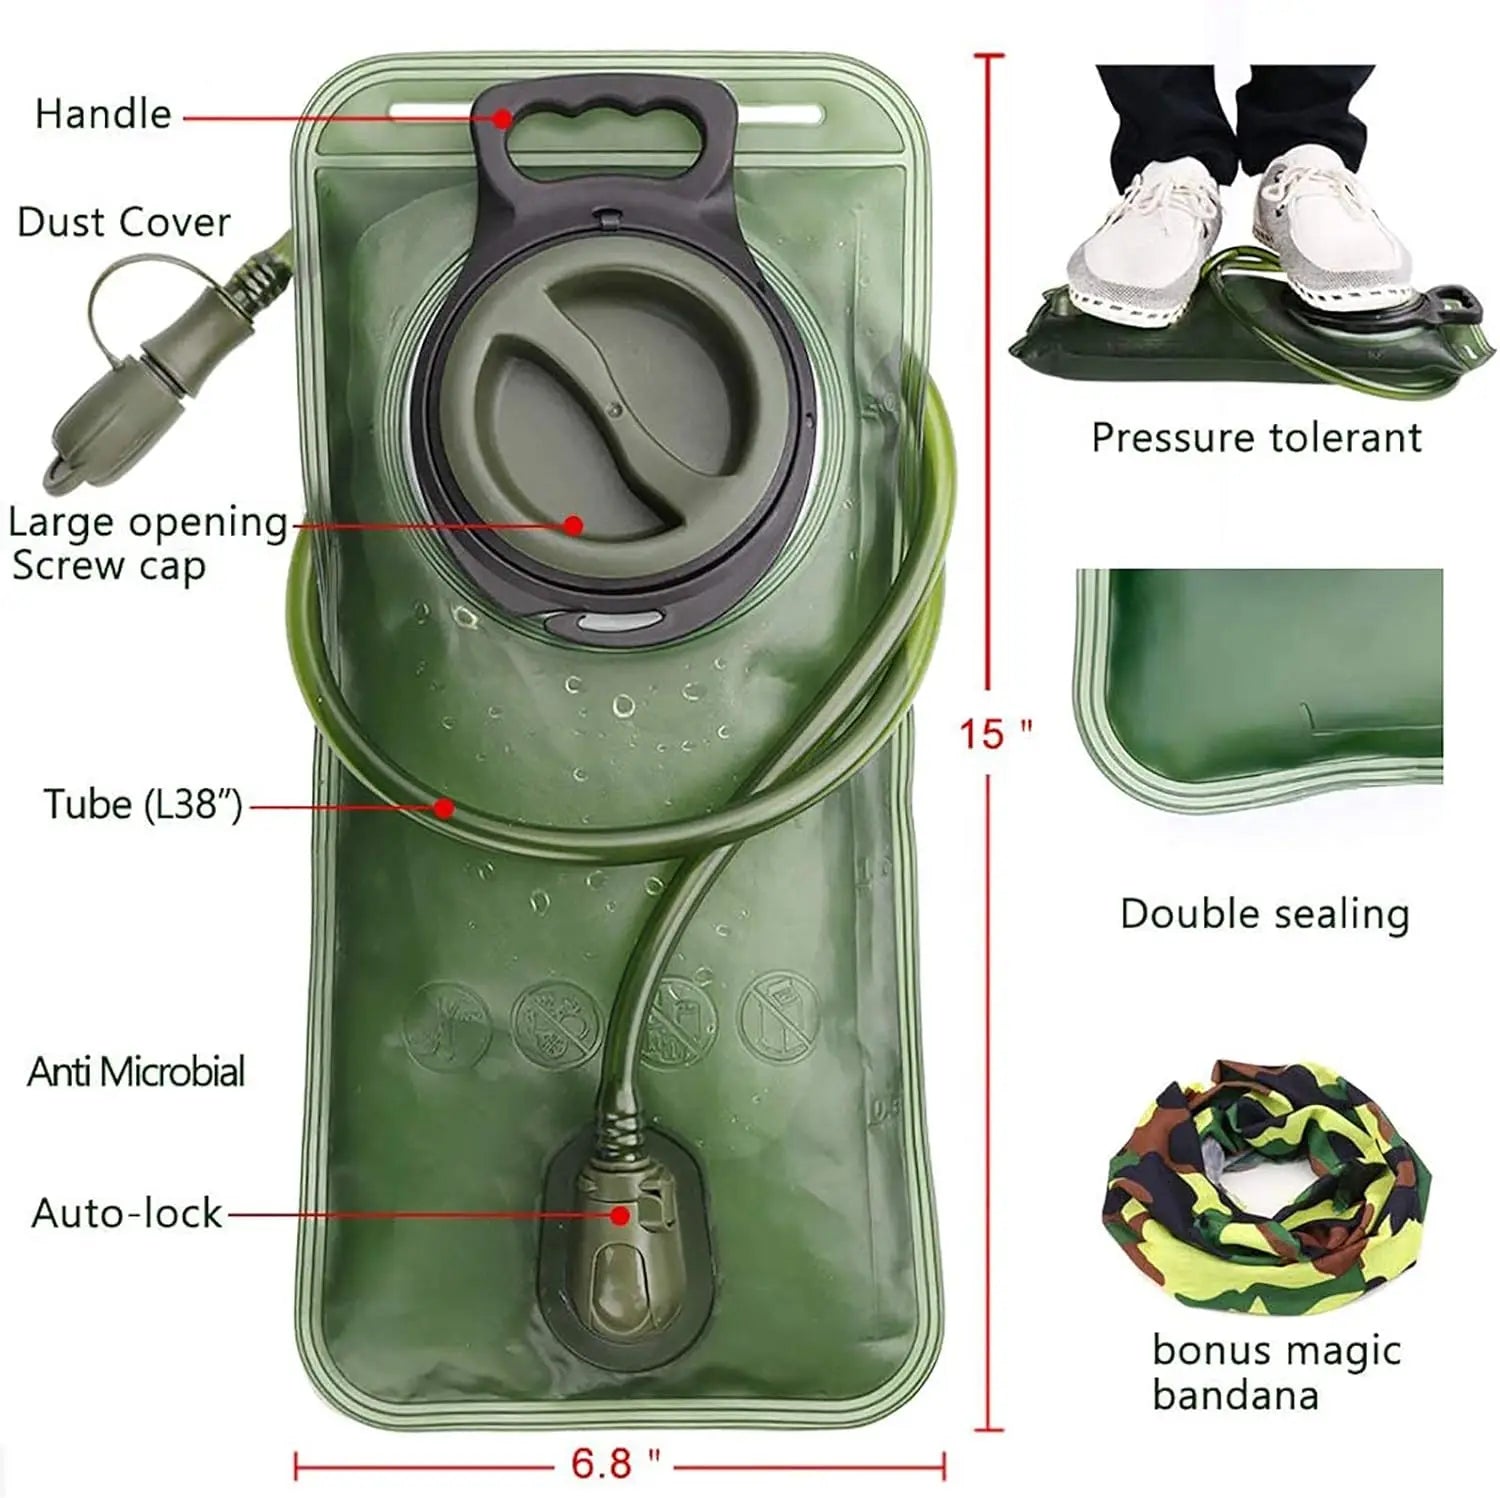
💡 See it in action
Outdoor Gear Checklist for Cleaner Hydration Systems
Keeping hydration gear clean becomes easier with the right supporting equipment.
- Cleaning tablets or sanitizer
- Tube cleaning brush
- Drying rack or hanger
- Wide-mouth hydration reservoir
- Storage pouch for cleaning tools
- Backup collapsible water bottle
Many hikers also carry backup hydration solutions from the Collapsible Water Bottles collection during long-distance adventures.
For backcountry trips where water quality changes constantly, pairing reservoirs with Personal Water Filters helps maintain cleaner hydration systems while improving water safety.
FAQ
How do you clean a hydration bladder properly?
Use warm water, a hydration bladder cleaner solution, and a cleaning brush for the tube and bite valve. Rinse thoroughly and allow every component to dry completely before storage.
How do you stop hydration pack tube mold buildup?
Clean the hose after every extended trip, especially after using sports drinks. Keep tubing detached during drying to improve airflow and reduce trapped moisture.
Why are wide-mouth hydration bladders easier to clean?
Wide-mouth reservoirs improve access for scrubbing, increase airflow during drying, and make it easier to inspect interior surfaces for hidden residue or mold.
Can you store a hydration bladder in the freezer?
Yes. Many outdoor users freeze cleaned reservoirs between trips to slow bacterial growth and reduce odor buildup during storage.
How often should you sanitize a BPA-free water reservoir?
Sanitize after every multi-day trip, after using flavored drinks, or whenever odors develop. Frequent cleaning helps maintain BPA free water reservoir clean conditions year-round.
Pillar Article: How To Clean A Hydration Bladder: Easy Step-By-Step Guide
Other Related Articles:
- What Is A Hydration Bladder: How It Works And How To Use
- Clean Hydration Bladder: Simple Methods That Actually Work
- Water Backpack Bladder: How To Set Up And Use It
Explore More:





