

Clean Hydration Bladder: Simple Methods That Actually Work
Clean Hydration Bladder: Simple Methods That Actually Work
⏱ 8 min read
Does Cleaning a Hydration Bladder Really Work?
Yes. A clean hydration bladder improves water taste, prevents hydration pack tube mold buildup, and extends the life of your gear. Simple cleaning habits like proper drying, regular rinsing, and leak checks help stop bad tasting water in reservoirs while keeping every sip fresh during hikes, cycling trips, and camping weekends.
Nothing ruins a long hike faster than opening your hydration pack and tasting stale, sour water. Many outdoor travelers struggle with hidden mold, trapped moisture, and stubborn odors inside reservoirs and drinking tubes. The good news? You do not need expensive cleaning kits or complicated routines to clean hydration bladder systems effectively. With a few simple habits, you can keep water fresh, reduce leaks, and maintain safer hydration gear for every outdoor adventure.
👉 Fresh water makes every hike better. Explore practical outdoor hydration solutions with the Hydration & Food collection before your next adventure.
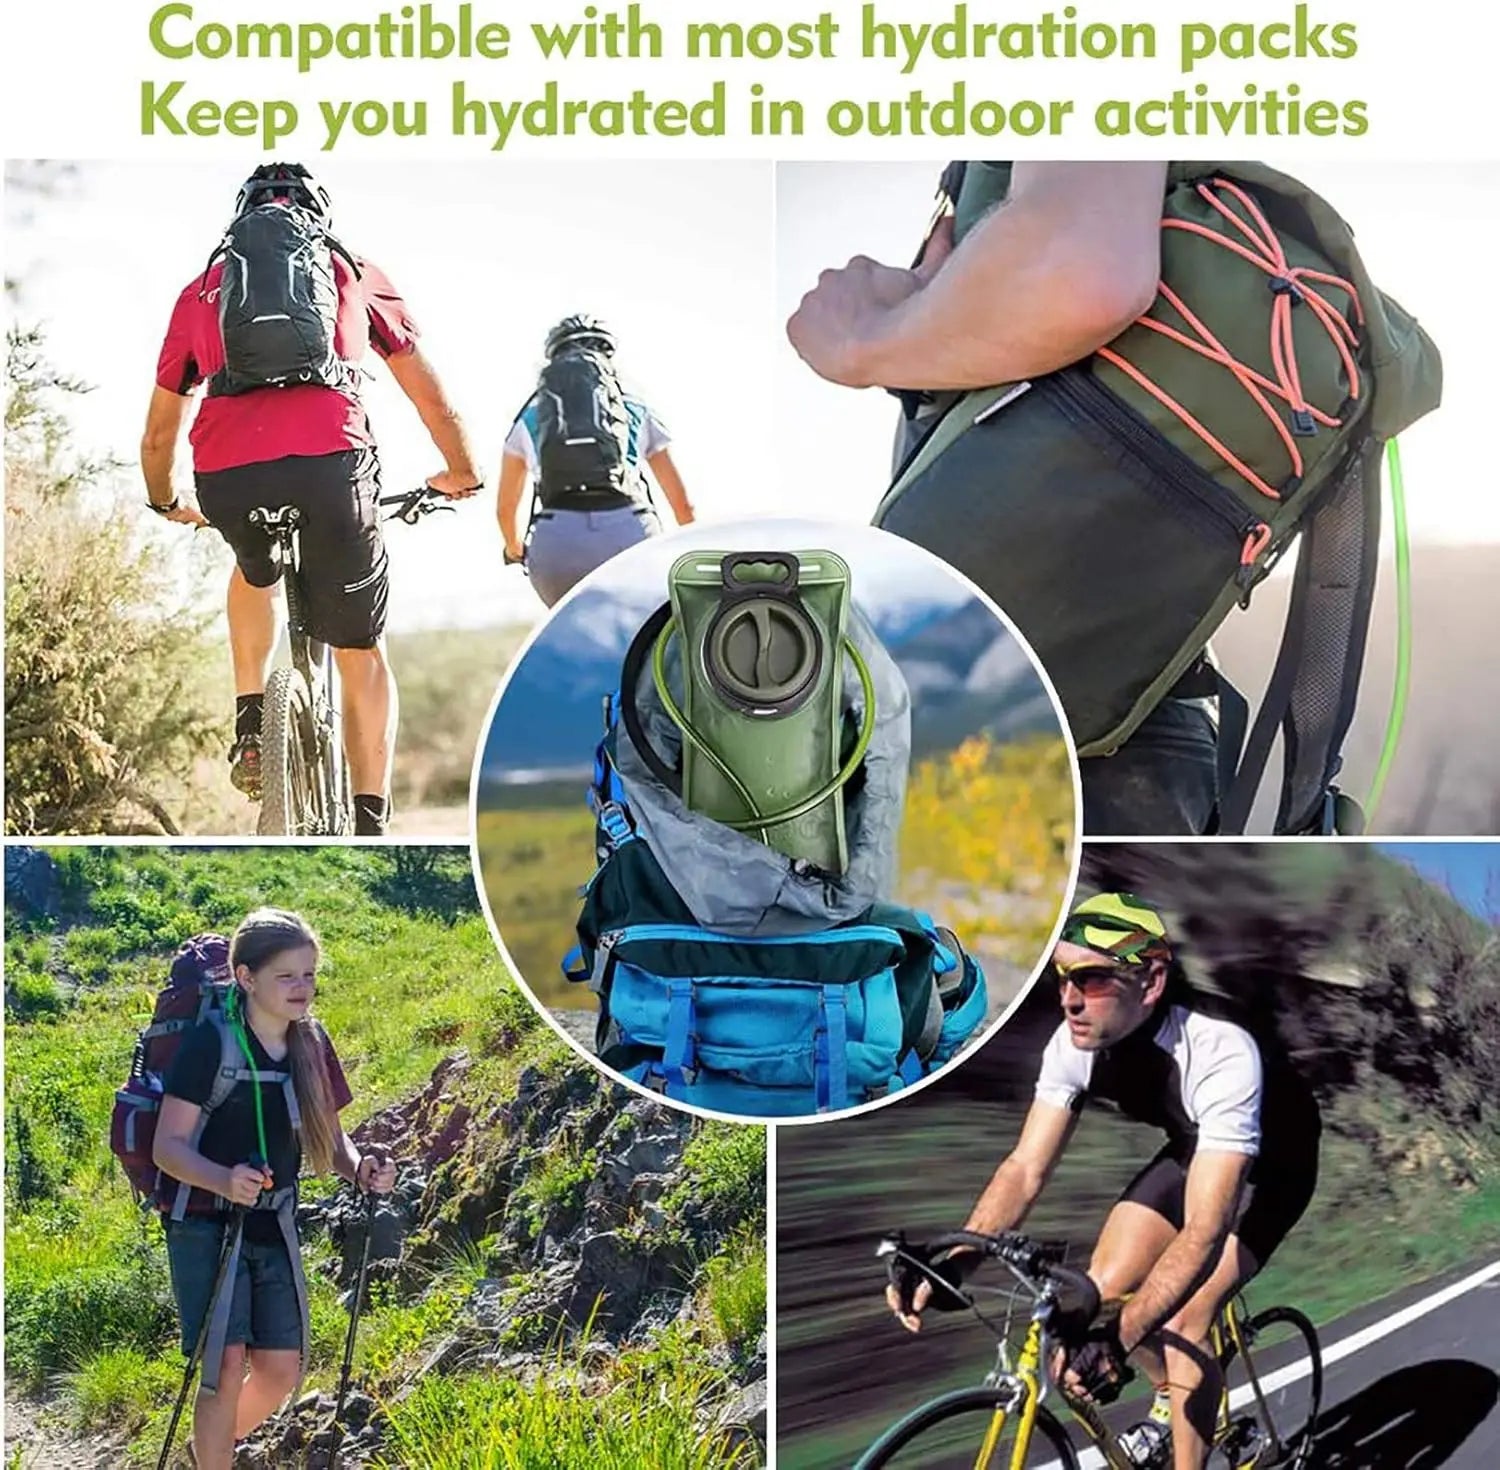
💡 See it in action
Why Hydration Bladders Start Smelling Fast
A hydration bladder creates the perfect environment for bacteria when moisture stays trapped inside after use. Warm temperatures, sugary drink mixes, and poor airflow make odors appear quickly.
What gear actually makes camping easier? Often, it is the gear you can maintain easily after the trip. Hydration systems work best when cleaned immediately after use instead of sitting overnight in a backpack or vehicle.
- Leftover sports drinks create sticky residue
- Water trapped inside tubes encourages mold
- Improper drying causes bad tasting water in reservoirs
- Folded storage traps moisture in corners
- Damaged seals increase leak risks
| Problem | Common Cause | Simple Fix |
|---|---|---|
| Bad odor | Moisture trapped overnight | Dry reservoir completely |
| Bad tasting water | Bacteria buildup | Rinse after every trip |
| Tube mold | Dark wet tubing | Hang tube vertically |
| Leaks | Worn seals or folds | Inspect before storage |
Many experienced hikers now pair hydration systems with gear from the Lightweight Daypacks collection to reduce compression pressure that can damage reservoirs during long trips.
How to Clean Hydration Bladder Systems Step by Step
To clean hydration bladder systems properly, rinse immediately after use, wash with warm water and mild soap, scrub the tube gently, and dry every part fully before storage. This simple process helps eliminate reservoir odor removal problems while maintaining BPA free water reservoir clean for repeated outdoor use.
- Empty all remaining liquid immediately after use.
- Fill the bladder halfway with warm water and mild soap.
- Shake thoroughly for 30 seconds.
- Run water through the drinking tube.
- Use a soft cleaning brush for corners and tube interiors.
- Rinse until no soap smell remains.
- Air dry completely before sealing.
For stubborn smells, mix baking soda with warm water and let it sit for 20 minutes. White vinegar also helps neutralize odors naturally.
Outdoor runners and cyclists often store clean reservoirs inside products from the Gear Organizers & Pouches collection to keep tubes separated and protected.
👉 Learn how to upgrade your hydration setup before summer hiking season. Check out the durable 2L Hydration Bladder designed for everyday outdoor adventures.
Avoid These Common Cleaning Mistakes
- Do not use boiling water on soft reservoirs
- Avoid strong bleach mixtures
- Never seal the bladder while damp
- Do not store filled reservoirs inside hot cars
"I stopped getting weird plastic tastes after I started drying the tube separately overnight. Huge difference on long rides." — Trail cyclist from Colorado
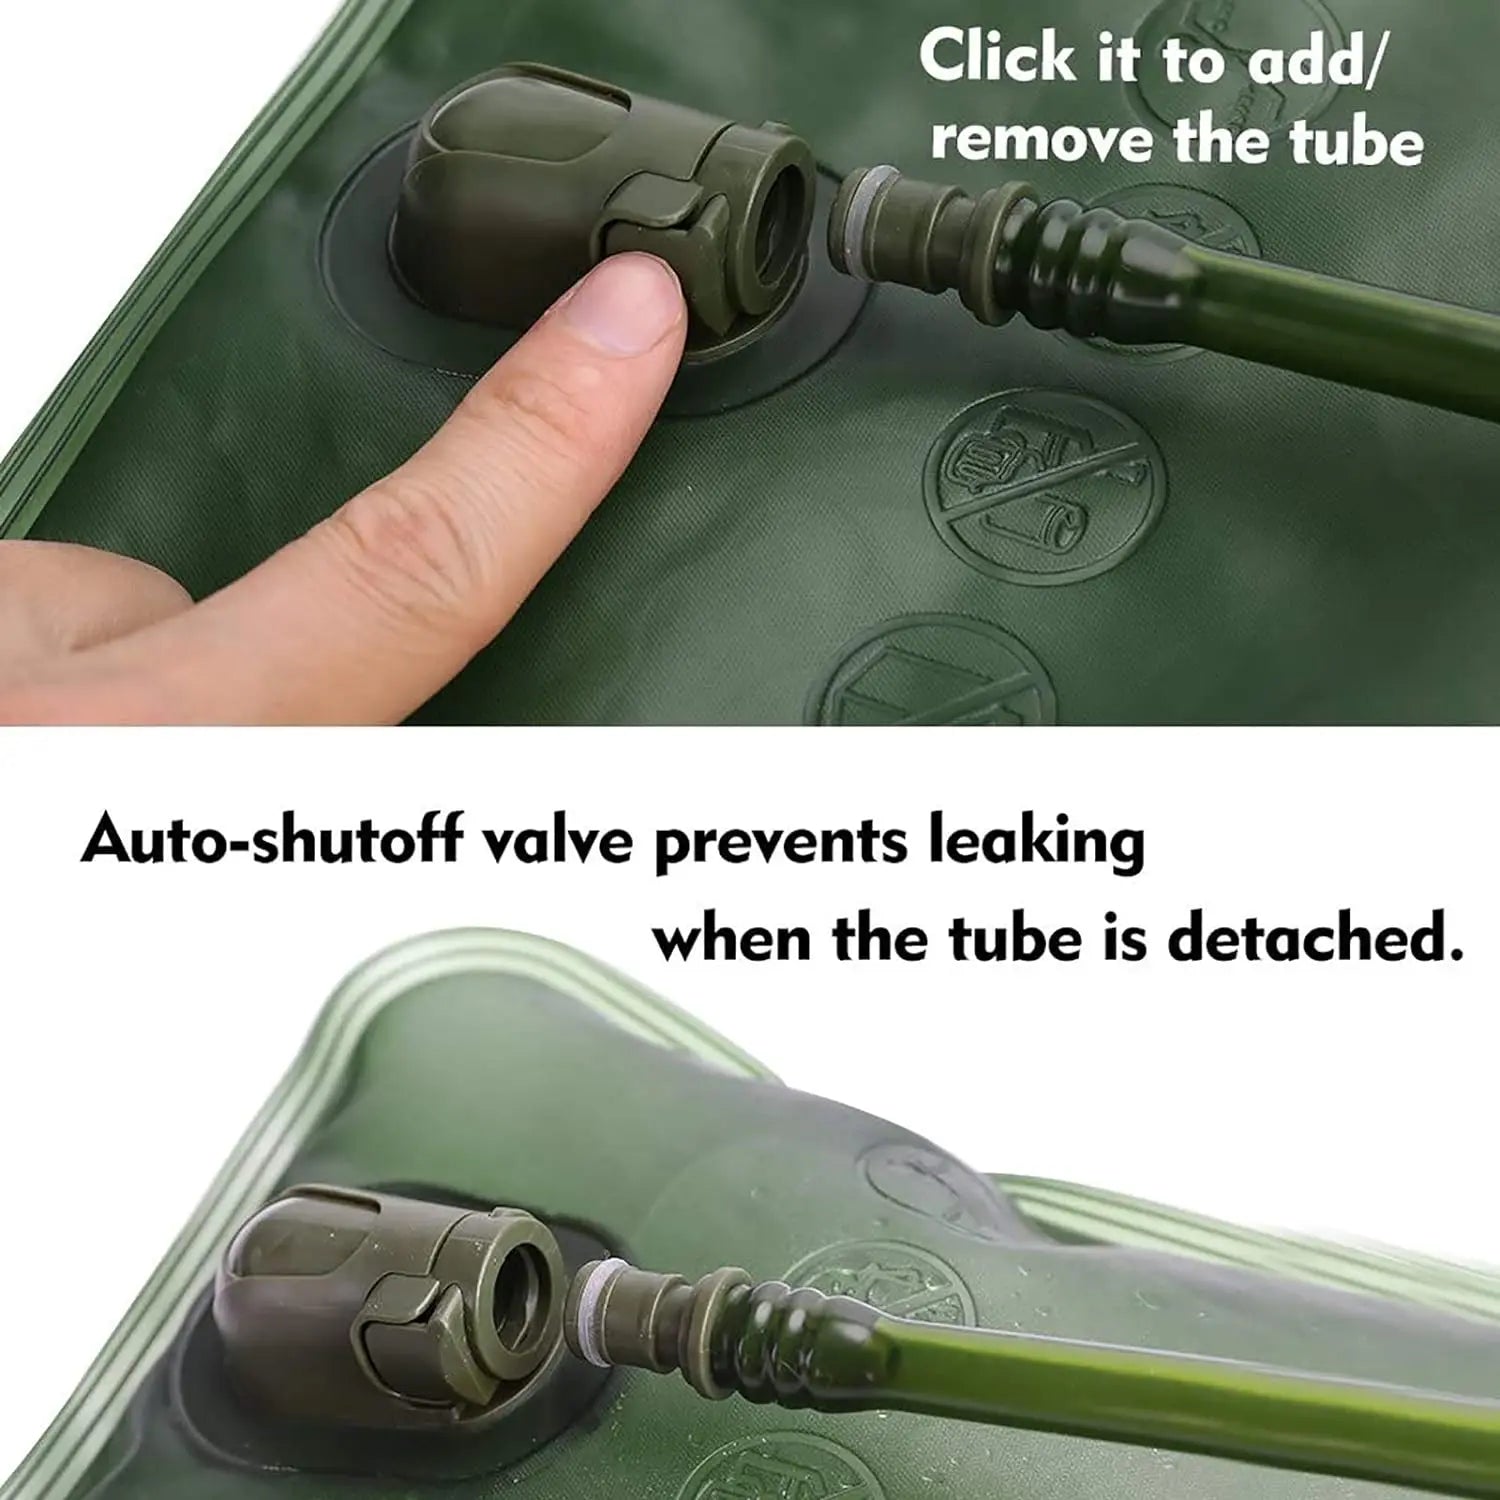
💡 See it in action
How to Stop Hydration Pack Tube Mold Buildup
Hydration pack tube mold buildup usually starts because water remains trapped in dark tubing after activity. Tubes dry slower than reservoirs, making them the most overlooked cleaning area.
Easy Tube Cleaning Method
- Disconnect the tube completely
- Flush warm water through it
- Use a narrow brush if available
- Blow air through the tube after rinsing
- Hang vertically for faster drying
A simple trick many hikers use is storing the tube elevated with clips from the Hooks, Clips & Carabiners collection to improve airflow overnight.
When Should You Replace the Tube?
If discoloration remains after repeated cleaning or if mold smell persists, replacing the tube may be safer than continued use. Deep cracks inside tubing can trap bacteria permanently.
| Tube Condition | Can It Be Saved? | Recommended Action |
|---|---|---|
| Light odor | Yes | Baking soda rinse |
| Minor discoloration | Usually | Deep clean and dry |
| Visible mold spots | Sometimes | Brush thoroughly |
| Cracked tubing | No | Replace immediately |
Simple Drying Tricks That Prevent Odors
Drying is the step most people skip. Even a perfectly washed reservoir can smell bad if moisture remains trapped inside overnight.
The easiest method is keeping the bladder open using kitchen tongs or clean utensils while hanging it upside down. Air circulation matters more than expensive drying racks.
- Store in cool dry spaces
- Keep the cap fully open
- Separate the hose while drying
- Never leave reservoirs folded
Campers who travel in humid weather often pair hydration storage with waterproof solutions from the Waterproof & Dry Bags collection to separate wet gear from clean equipment.
"After every backpacking trip, I hang my bladder near a fan overnight. Since then, no more bad tasting water in reservoirs." — Weekend backpacker from Oregon
How to Prevent Hydration Bladder Leaks Before Trips
Understanding how to prevent hydration bladder leaks saves clothing, electronics, and sleeping gear from water damage during travel.
Leak prevention starts with regular inspection. Most failures happen around seams, bite valves, or over-tightened caps.
Quick Leak Prevention Checklist
- Inspect seals before every trip
- Check for pinhole damage
- Avoid overfilling reservoirs
- Store away from sharp objects
- Do not compress heavy gear against the bladder
Travelers often combine hydration systems with products from the Compression & Packing Bags collection to organize gear safely without damaging water reservoirs.
If you carry electronics, extra protection from the Car Organizers & Storage collection can help separate hydration gear during road trips.
👉 Get ready before your next outdoor trip. The 2L Hydration Bladder offers practical hydration storage built for hiking, cycling, travel, and camping adventures.
The Best Weekly Cleaning Routine for Outdoor Athletes
A consistent schedule prevents deep cleaning headaches later. Athletes who use hydration packs daily benefit from a quick weekly maintenance routine.
| Frequency | Task |
|---|---|
| After every use | Rinse reservoir and tube |
| Weekly | Soap wash and inspection |
| Monthly | Deep clean with baking soda |
| Seasonally | Replace worn seals or tubes |
Runners training in hot climates often keep backup hydration storage in products from the Running Belts & Packs collection for faster gear rotation between workouts.
For overnight trips, pairing hydration gear with compact cooking supplies from the Camping Stoves & Cooking collection helps simplify campsite organization and cleanup.
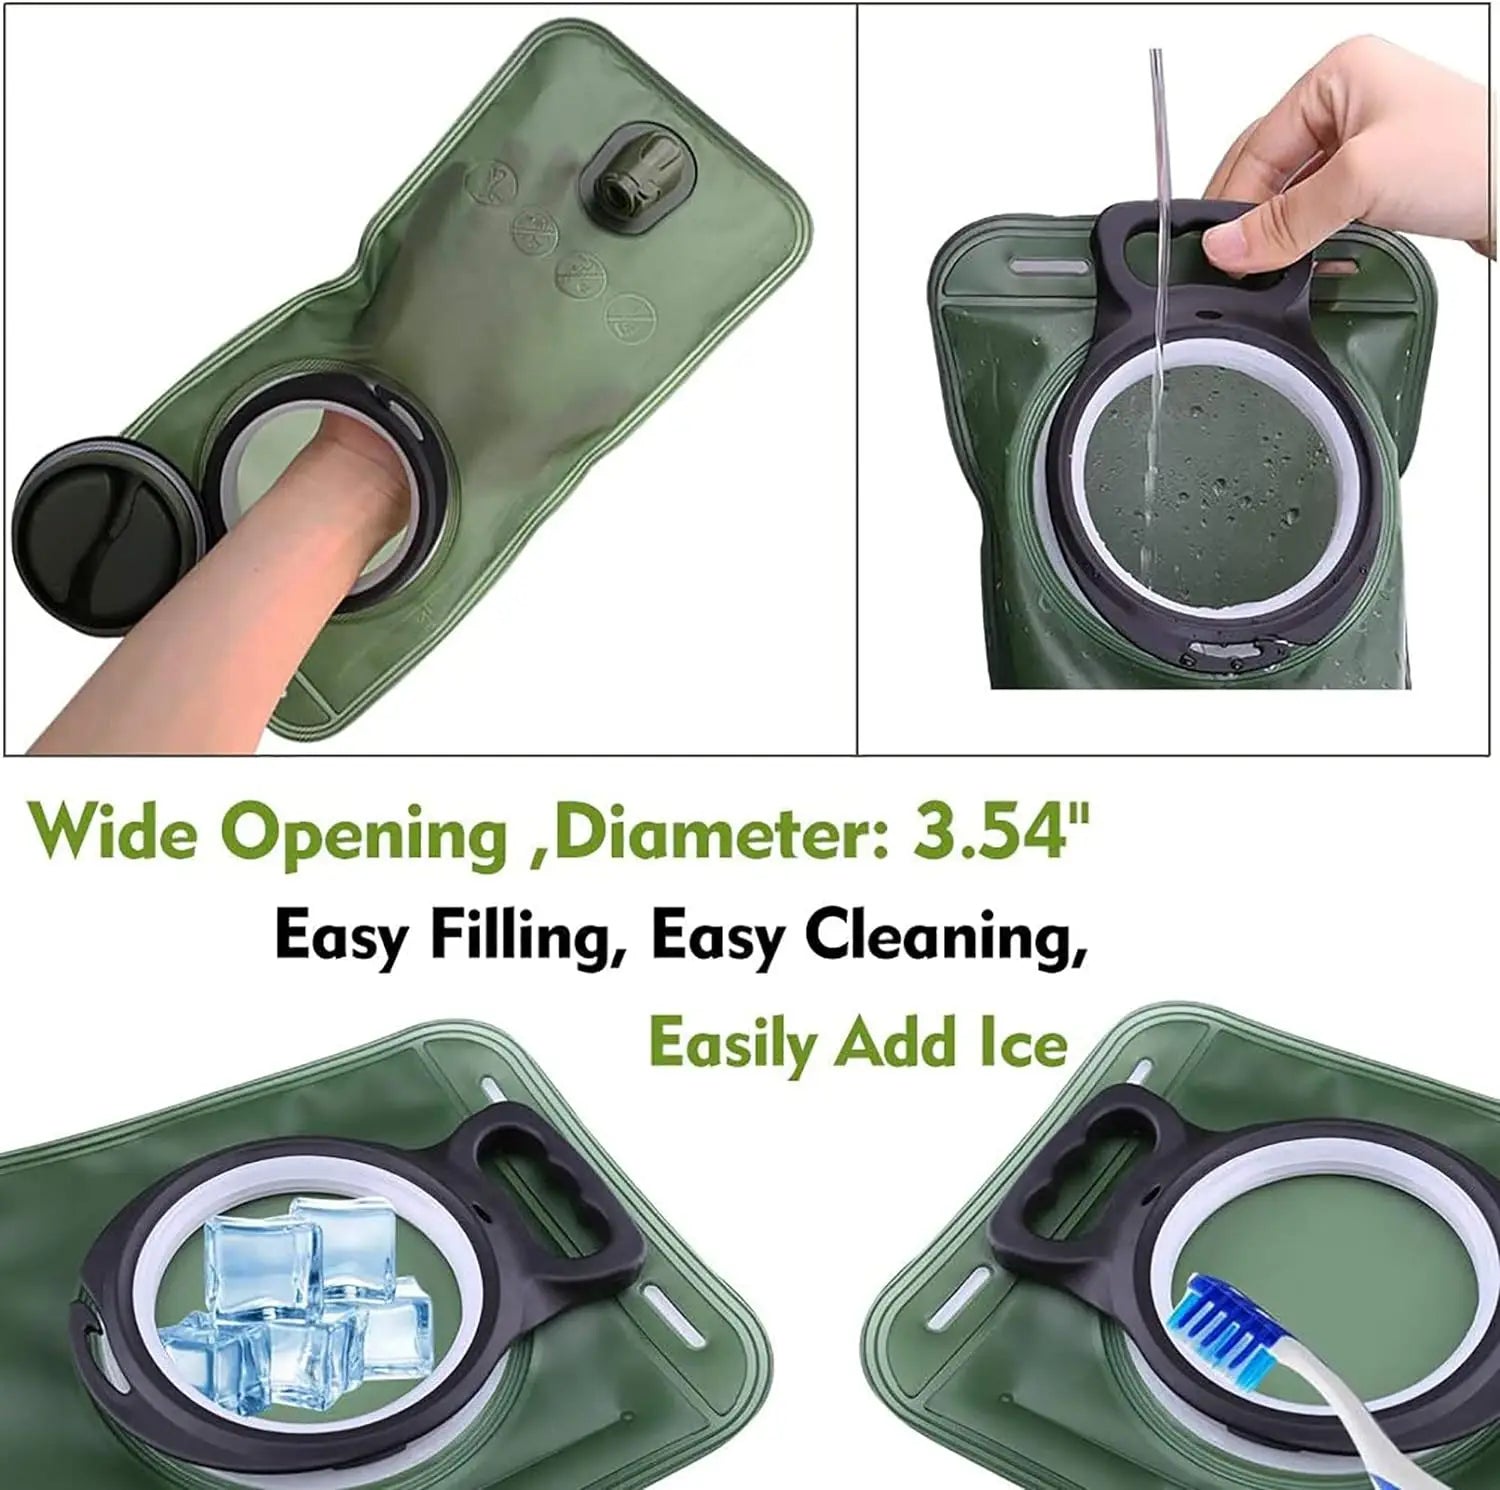
💡 See it in action
Helpful Gear That Makes Cleaning Easier
Some outdoor gear choices reduce cleaning time dramatically. Organized storage, airflow, and proper packing all help reservoirs stay cleaner longer.
- Camping Storage & Boxes keep clean gear separated from muddy equipment
- Personal Water Filters help reduce sediment entering reservoirs
- Foldable Travel Gear saves space while protecting hydration equipment
- Lighting & Power products improve campsite visibility during nighttime cleaning
Fresh Water Starts With Better Habits
Keeping a clean hydration bladder does not require complicated equipment or expensive cleaners. Small daily habits make the biggest difference. Rinse immediately, dry thoroughly, inspect for leaks, and keep tubes ventilated after every trip.
Whether you hike mountain trails, cycle city paths, or spend weekends camping with family, clean hydration systems improve comfort, safety, and overall outdoor enjoyment.
Most importantly, never ignore early warning signs like strange tastes, sticky tubing, or trapped moisture. A few extra cleaning minutes today can prevent replacing your entire hydration setup later.
FAQ
How often should I clean a hydration bladder?
You should rinse your hydration bladder after every use and perform a deeper cleaning at least once a week during frequent outdoor activity.
Why does my hydration bladder still smell after washing?
Lingering odors usually come from trapped moisture inside the tube or corners of the reservoir. Complete drying is essential for reservoir odor removal.
Can I use vinegar to clean my hydration pack?
Yes. White vinegar mixed with warm water helps remove odors naturally and can reduce bacteria buildup inside reservoirs and tubes.
What causes bad tasting water in reservoirs?
Bad tastes often come from bacteria growth, leftover drink residue, or improper drying after use.
How do I maintain BPA free water reservoir clean safely?
<Pillar Article: How To Clean A Hydration Bladder: Easy Step-By-Step Guide
Other Related Articles:
- What Is A Hydration Bladder: How It Works And How To Use
- Water Backpack Bladder: How To Set Up And Use It
- Hydration Bladder Cleaner: How To Use It Correctly
Explore More:





