

How To Apply A Gauze Bandage That Stays Put All Day
How do you apply a gauze bandage so it stays put all day?
To apply a gauze bandage that stays put, clean and dry the wound, layer sterile gauze pads, and wrap with even tension—snug but not tight. Secure the ends with medical tape or clips, anchor above and below joints, and finish with a breathable outer layer to prevent slipping while maintaining circulation.
How To Apply A Gauze Bandage That Stays Put All Day
⏱ 6 min read — You’re hiking, camping, or just handling a scraped knee at home… and your bandage keeps slipping. Frustrating, right? Learning how to apply a gauze bandage correctly can mean the difference between constant rewrapping and all-day protection. This guide shows simple, practical techniques that actually work—even for active kids and outdoor adventures.
Stay prepared for any situation with reliable essentials from Safety, Survival & Emergency.
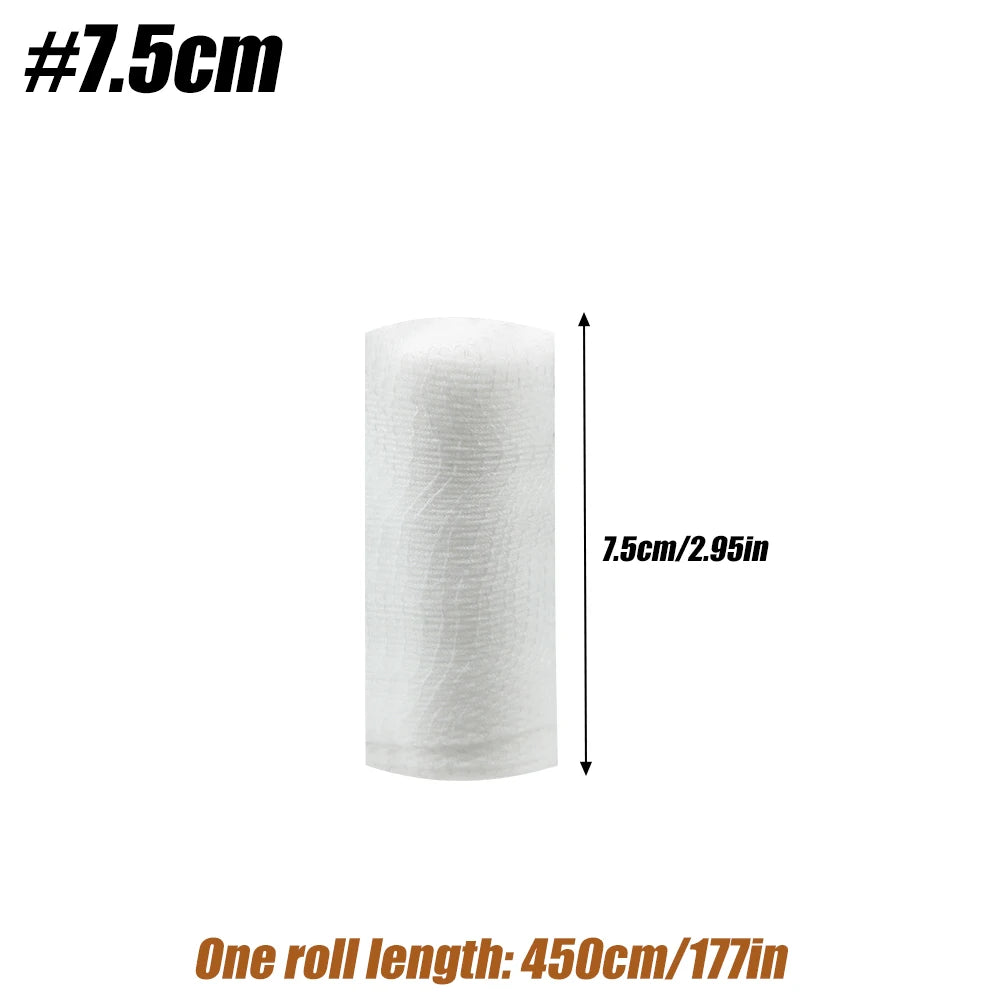
💡 See it in action
Why Bandages Keep Slipping (And How to Fix It)
Before learning how to apply a gauze bandage, it helps to know why most fail in the first place.
- Loose wrapping: Too little tension causes shifting
- Too tight: Cuts circulation, forcing adjustment
- Moisture: Sweat weakens adhesion
- Movement: Joints like knees and elbows need special anchoring
Whether you're on a trail or at home, stability comes from proper layering and smart securing—not just tighter wrapping.
How to Apply a Gauze Bandage That Stays Put
To apply a gauze bandage properly, start with a clean wound, layer sterile gauze, and wrap evenly with moderate tension. Anchor above and below the injury, especially around joints, and secure with tape or clips. Finish with a breathable layer to maintain airflow and prevent slipping during movement.
- Clean the wound: Remove dirt and dry the area completely
- Apply gauze pad: Place directly over the wound
- Start wrapping: Begin below the wound and wrap upward
- Overlap layers: Cover about half of the previous layer
- Maintain tension: Firm but comfortable—no numbness
- Secure ends: Use tape or clips to lock in place
💡 Pro tip: Always test circulation—press a fingertip beyond the bandage. Color should return within 2 seconds.
Need a reliable option? Try gauze bandage rolls designed for consistent wrapping and durability.
Best Way to Secure Gauze Bandage for Active Use
Outdoor movement demands extra stability. Here’s how to keep your bandage in place all day:
- Anchor wraps: Start and end beyond the wound area
- Figure-8 wrapping: Ideal for joints like knees and elbows
- Use clips or tape: Reinforce weak points
- Layer smartly: Combine gauze with elastic wrap if needed
Many hikers pair first aid supplies with gear from First Aid Kits to stay prepared on the trail.
Explore practical outdoor essentials in Backpacking & Carry.
How to Apply a Breathable Gauze Bandage Properly
Healing improves when airflow is maintained. A breathable gauze bandage prevents moisture buildup and irritation.
- Use lightweight gauze rolls
- Avoid over-layering
- Leave small gaps for airflow
- Choose non-occlusive tape
This is especially useful during hot weather or active days outdoors.
Ways to Keep Bandages on Kids Longer
Kids are constantly moving—so standard wrapping often fails.
- Distract while applying: Reduces resistance
- Use fun colors or prints: Kids are more likely to keep them on
- Double anchor method: Secure above and below the joint
- Flexible wrap: Allows movement without loosening
Parents often combine first aid gear with items from Safety Gear for Kids for better protection during outdoor play.
Quick Comparison: Secure Methods That Work
| Method | Best For | Pros | Cons |
|---|---|---|---|
| Basic Wrap | Minor cuts | Simple, quick | May loosen easily |
| Figure-8 Wrap | Joints | High stability | Takes practice |
| Elastic Overlay | Active use | Extra hold | Less breathable |
| Adhesive Tape Lock | All-purpose | Strong hold | Can irritate skin |
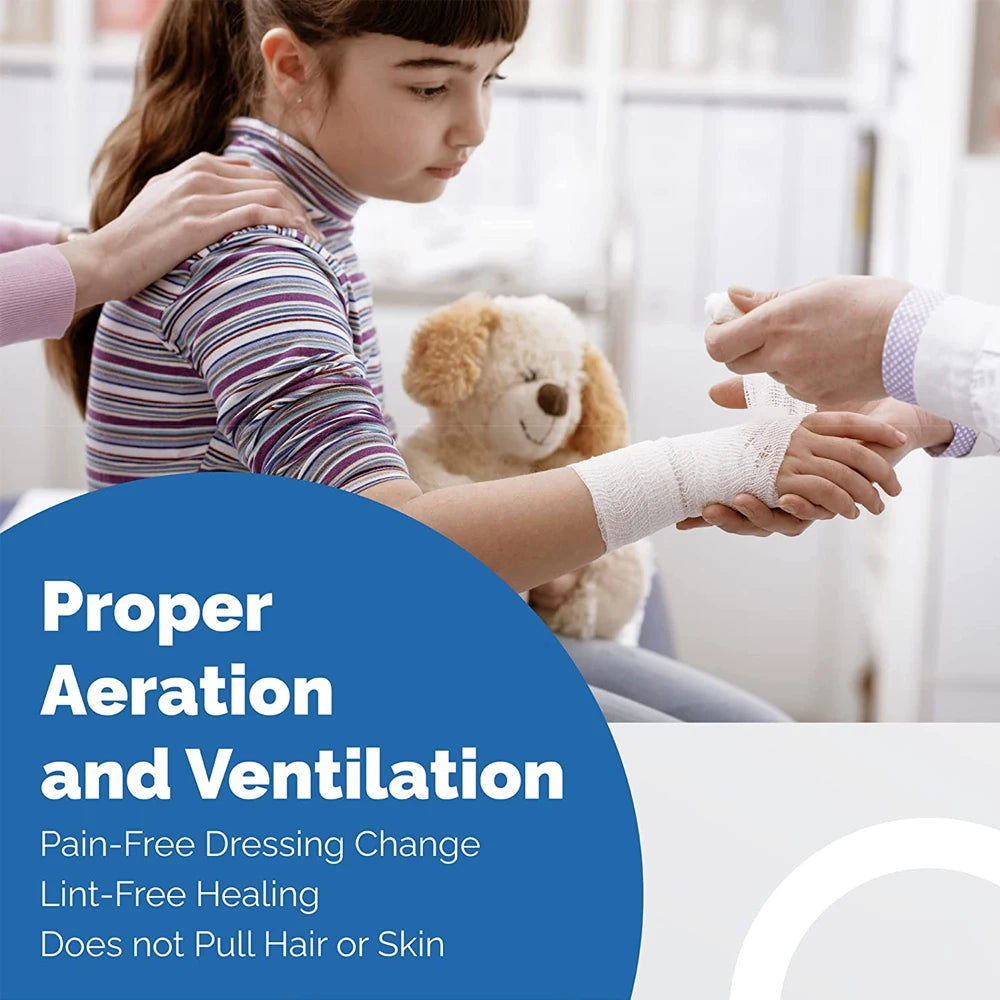
💡 See it in action
Outdoor Scenarios: Keeping Bandages in Place Anywhere
Imagine this: You’re hiking, and a scrape happens miles from camp. What gear actually makes camping easier?
Prepared adventurers rely on:
- Compact kits from First Aid Kits
- Organized storage via Gear Organizers & Pouches
- Backup lighting from Headlamps & Wearable Lights
One camper shared: “After learning proper wrapping, I stopped redoing bandages every hour. It saved time and stress on long hikes.”
When conditions get tough—heat, sweat, movement—the right wrapping technique matters more than the bandage itself.
Checklist: Quick Bandage Fix in the Wild
- Clean with available water
- Dry before wrapping
- Use overlapping layers
- Secure ends tightly
- Check circulation regularly
Pair your bandaging skills with hydration tools from Collapsible Water Bottles to stay prepared longer outdoors.
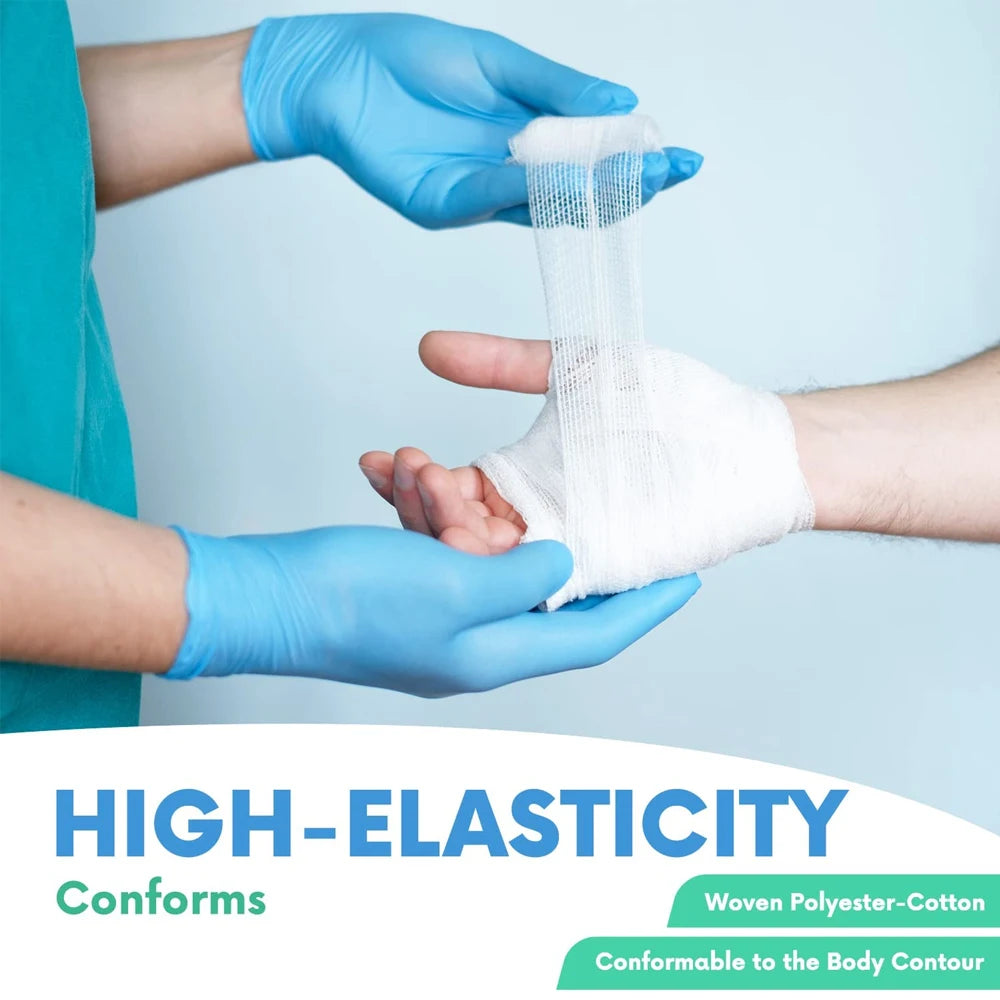
💡 See it in action
Upgrade your first aid setup with gauze bandage rolls for reliable, all-day hold.
Frequently Asked Questions
How tight should a gauze bandage be?
It should feel snug but not restrict circulation. You should be able to slide a finger under the wrap, and skin beyond the bandage should remain warm and normal in color.
Can I reuse a gauze bandage?
No, gauze bandages are designed for single use to prevent infection. Always replace with a clean one when changing dressings.
How do I keep a bandage from slipping on joints?
Use a figure-8 wrapping technique and anchor the bandage above and below the joint. This adds stability during movement.
What’s the best way to keep bandages on kids?
Use flexible wraps, secure with extra anchors, and involve kids in the process by choosing fun designs. This increases comfort and compliance.
How often should I change a gauze bandage?
Change it daily or whenever it becomes wet or dirty. Keeping the wound clean and dry helps promote faster healing.
Pillar Article: How To Use Gauze Pads For Clean, Safe Wound Care
Other Related Articles:
- How To Use Gauze For Cuts, Scrapes, And Joint Injuries
- Building First Aid Kit: What To Pack For Every Trip
- How To Properly Clean A Wound And Avoid Infection Fast
Explore More:





