

Dry Bag 10 Liter Setup: How To Keep Essentials Fully Dry
How To Attach Molle Pouches Step-By-Step For Secure Gear Setup
⏱ 9 min read
How Do You Attach MOLLE Pouches Properly?
How to attach MOLLE pouches correctly starts with weaving the pouch straps through both the backpack webbing and pouch loops in an alternating pattern. This creates a tighter hold, prevents bouncing, and keeps gear secure during hikes, travel, or tactical use. Proper weaving also reduces long-term loosening and improves comfort on uneven terrain.
How to attach MOLLE pouches the right way can completely change how you carry outdoor gear. Whether you are organizing first aid supplies, hiking tools, water storage, or emergency accessories, a properly configured MOLLE setup keeps everything balanced, accessible, and secure. Many hikers struggle with loose pouches, shifting weight, or uncomfortable pack layouts during long treks. This guide breaks down how to attach MOLLE accessories properly while helping you build a durable hiking backpack with MOLLE system that works for camping, hiking, travel, and everyday outdoor adventures.
Have you ever reached for your flashlight or first aid kit only to realize your pouch shifted, loosened, or snagged on something during the hike?
A secure MOLLE system solves that problem while making outdoor organization faster and more efficient.
Upgrade your outdoor setup with a reliable durable hiking backpack with MOLLE system designed for organized gear carry, balanced weight distribution, and quick access on the trail.
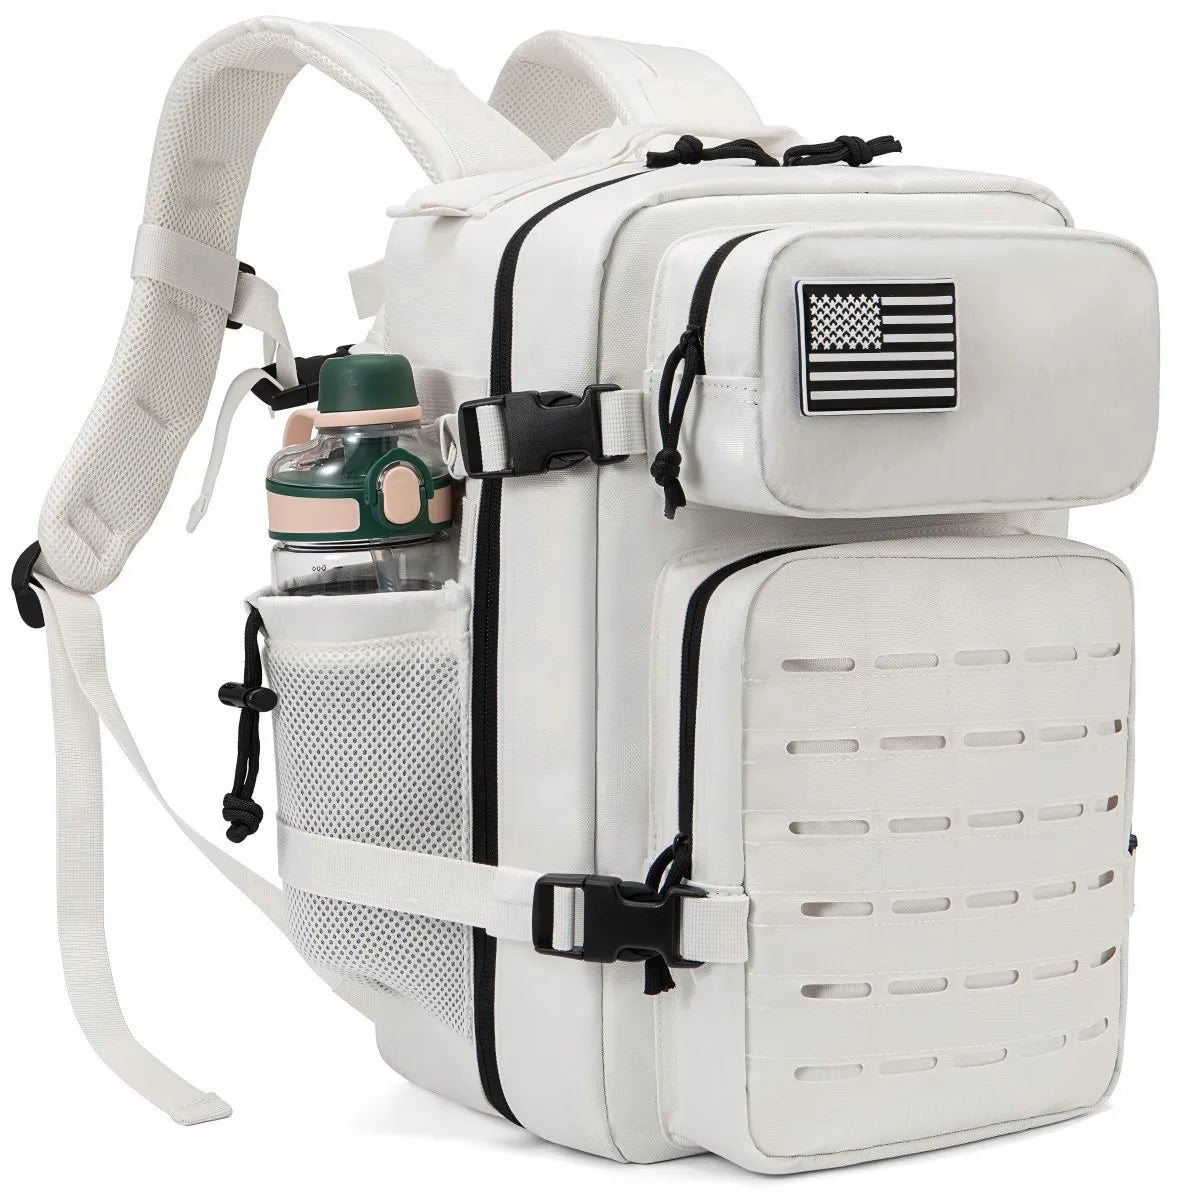
💡 See it in action
Why MOLLE Systems Make Outdoor Gear Easier To Organize
MOLLE stands for Modular Lightweight Load-carrying Equipment. The system uses rows of stitched webbing that allow pouches and accessories to attach securely to backpacks, belts, vests, or vehicle panels.
Unlike loose clip-on gear, MOLLE attachments stay flatter against the backpack. This improves balance while reducing annoying swinging during hikes or travel.
Key Benefits Of Proper MOLLE Setup
- Better organization for tools, hydration, and survival gear
- Faster access to essential items on the move
- Improved backpack weight distribution
- Reduced gear shifting on rough terrain
- Custom layouts for hiking, camping, travel, or emergency kits
| Traditional Backpack Setup | MOLLE Backpack Setup |
|---|---|
| Loose gear movement | Secure woven attachment system |
| Hard-to-reach accessories | Quick-access pouch placement |
| Limited customization | Modular organization options |
| Uneven weight distribution | Balanced gear placement |
Outdoor travelers often pair MOLLE setups with Gear Organizers & Pouches to separate medical kits, electronics, snacks, and emergency tools more efficiently.
How To Attach MOLLE Pouches Step-By-Step
How to attach MOLLE pouches properly involves weaving the pouch straps through alternating rows of backpack webbing and pouch loops. This weaving pattern locks the pouch tightly against the pack, minimizes movement, and prevents sagging or accidental detachment during hiking, travel, or outdoor activities.
-
Choose The Right MOLLE Position
Pick a location that keeps weight balanced. Heavier items should stay closer to your back and near the center of the backpack. -
Line Up The Pouch Webbing
Match the pouch straps with the backpack’s MOLLE rows before weaving. -
Weave The First Strap Through Backpack Webbing
Push the strap through the first webbing row on the backpack. -
Thread Back Through The Pouch Loop
Alternate weaving between the backpack and pouch webbing. -
Continue The Weaving Pattern
Repeat the process all the way down for a tighter and more stable attachment. -
Secure The Snap Or Clip
Lock the strap at the bottom to prevent shifting during movement.
Quick Checklist Before Heading Outdoors
- Pouches should sit flat against the pack
- Straps must be fully woven, not loosely threaded
- No dangling gear or unsecured clips
- Heavy items should stay near your center of gravity
Hikers frequently combine MOLLE systems with Hooks, Clips & Carabiners for gloves, water bottles, or fast-access tools.
A properly configured tactical daypack can improve comfort, organization, and gear accessibility on every outdoor trip.
Common MOLLE Setup Mistakes That Cause Loose Gear
One of the biggest mistakes people make is skipping the weaving process entirely. Simply sliding straps behind backpack webbing may feel secure at first, but pouches quickly loosen during movement.
Mistakes To Avoid
- Attaching heavy gear on the outermost side panels
- Leaving unused straps hanging loose
- Overloading one side of the backpack
- Using oversized pouches for small packs
- Failing to test gear before a long trip
Campers using First Aid Kits often mount them near shoulder height for faster emergency access.
Travelers carrying lighting tools also benefit from organizing equipment with Headlamps & Wearable Lights to avoid digging through crowded compartments at night.
“After switching to a fully woven MOLLE setup, my gear stopped bouncing completely during steep trail hikes. It also made my pack feel lighter because the weight stayed balanced.” — Colorado backpacking traveler
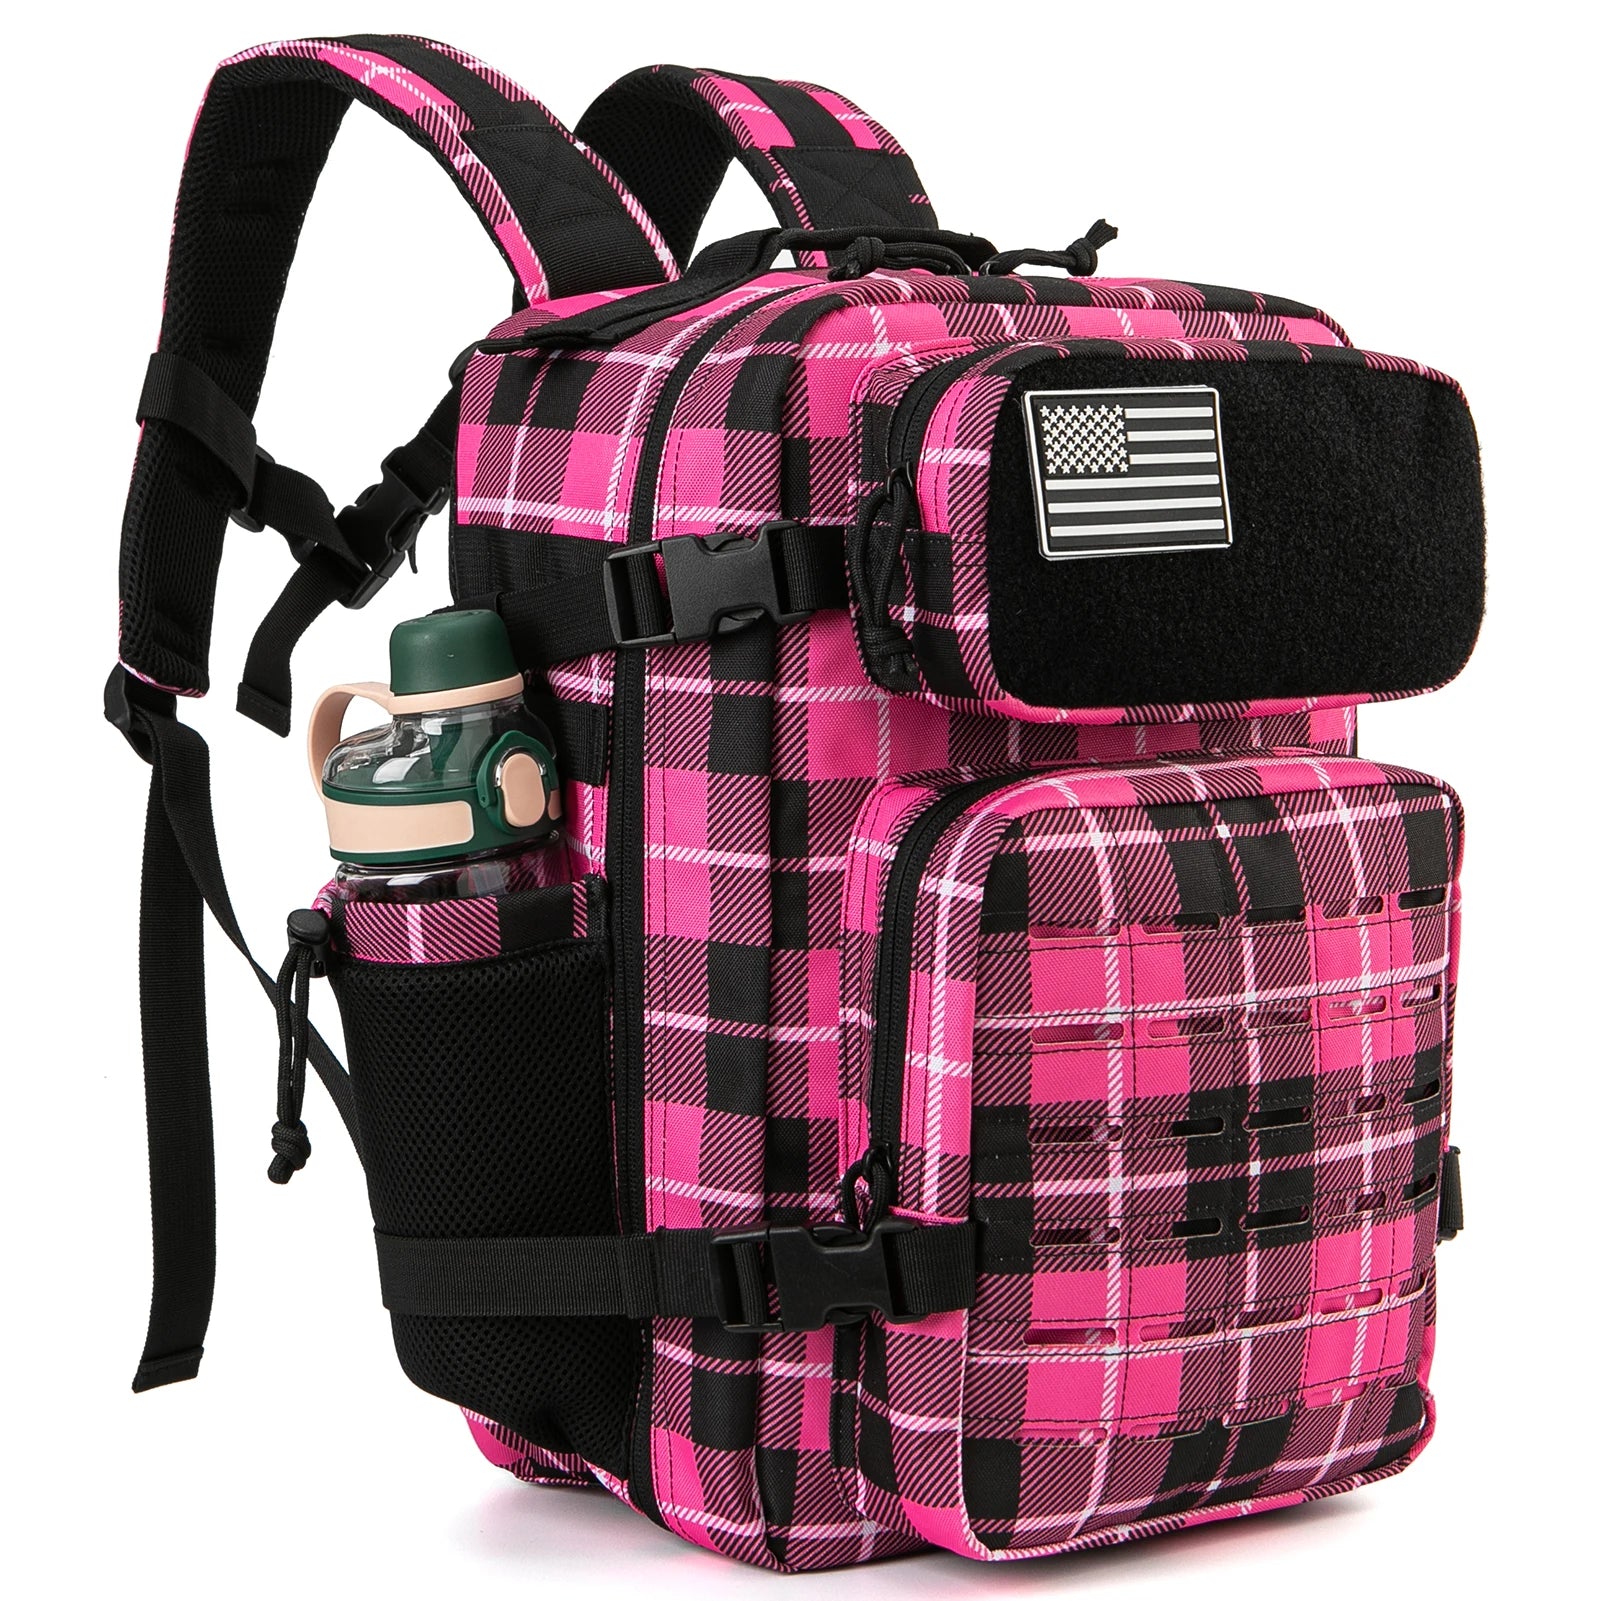
💡 See it in action
How Smart Gear Placement Improves Comfort On Long Hikes
Even the best MOLLE system can feel uncomfortable if gear placement is poorly planned. The goal is to distribute weight evenly while keeping important items accessible.
Recommended MOLLE Placement Strategy
| Gear Type | Best Placement |
|---|---|
| First aid pouch | Upper side panel |
| Water bottle pouch | Lower side panel |
| Multi-tool pouch | Front center access area |
| Emergency gear | Top-access section |
Pairing your backpack with Collapsible Water Bottles helps reduce bulk while freeing space for additional MOLLE accessories.
Outdoor users carrying cooking gear often organize fuel and utensils separately using Outdoor Cookware storage solutions attached to side webbing.
Why Balance Matters
Uneven weight distribution forces your shoulders and hips to compensate constantly. Over long hikes, this causes fatigue faster than many people realize.
Proper MOLLE placement keeps the load stable while reducing sway on uneven trails.
Tips For Choosing Tactical Daypack Setups
A durable hiking backpack with MOLLE system should offer reinforced stitching, comfortable shoulder support, breathable back padding, and enough webbing rows for modular customization.
What To Look For In A Tactical Daypack
- Heavy-duty stitching for outdoor durability
- Adjustable chest and waist straps
- Water-resistant fabric materials
- Comfortable airflow padding
- Enough MOLLE rows for future upgrades
Many hikers pair MOLLE packs with Compression & Packing Bags to maximize internal organization while keeping exterior pouches focused on quick-access tools.
Wet weather travelers also benefit from adding gear from Waterproof & Dry Bags to protect electronics, maps, and emergency clothing.
Best Outdoor Scenarios For MOLLE Systems
- Backpacking trips
- Car camping weekends
- Fishing and hunting trips
- Emergency preparedness kits
- Travel and road adventures
Campers organizing vehicles before long drives often combine MOLLE systems with Car Organizers & Storage for cleaner packing and easier access during road trips.
Stay organized outdoors with this durable MOLLE hiking backpack built for hiking, travel, emergency gear, and daily carry setups.
Outdoor Gear That Works Best With MOLLE Systems
The best MOLLE setups focus on practical gear that improves convenience, safety, and accessibility during outdoor activities.
Popular MOLLE-Compatible Accessories
- Medical pouches
- Hydration carriers
- Flashlight holders
- Tool organizers
- GPS and radio pouches
- Snack and cooking storage bags
Hikers often build complete outdoor systems using collections like Camping Storage & Boxes and Hydration & Food to improve organization across both campsite and trail use.
For colder trips, adding supplies from Wind & Cold Protection helps maintain comfort without overstuffing internal compartments.
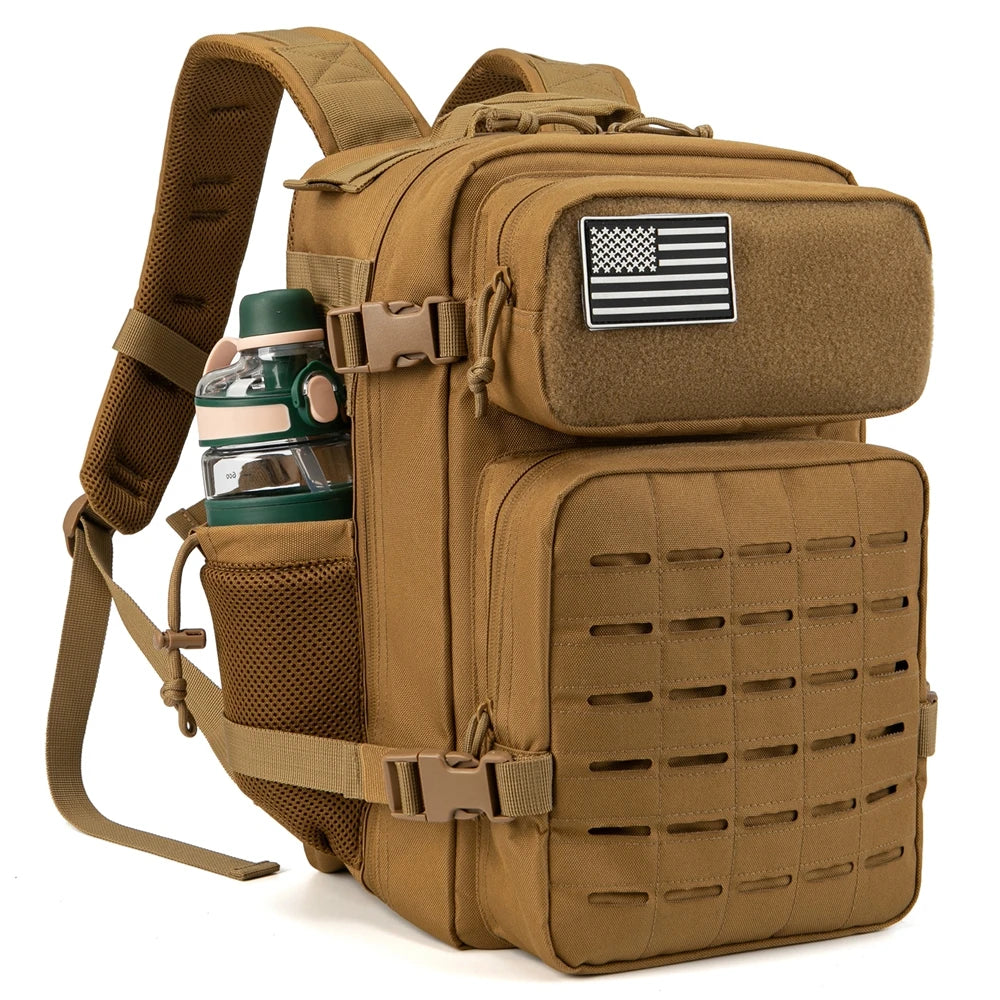
💡 See it in action
Why A Proper MOLLE Setup Makes Every Outdoor Trip Easier
Learning how to attach MOLLE pouches correctly improves more than just organization. A secure setup keeps gear accessible, balanced, and reliable during hiking, camping, travel, and emergency situations.
By weaving straps properly, balancing weight distribution, and choosing the right pouch locations, you create a cleaner, safer, and more comfortable outdoor carrying system.
Whether you are building a lightweight hiking kit or a fully customized tactical daypack, the right MOLLE setup can dramatically improve how you move and access gear outdoors.
FAQ
Why do MOLLE pouches become loose over time?
MOLLE pouches usually loosen when straps are not fully woven through both the pouch and backpack webbing. Proper weaving creates friction and stability that prevents shifting during movement.
Can MOLLE pouches fit any backpack?
MOLLE pouches require compatible webbing systems. Most tactical, hiking, and military-inspired backpacks with stitched webbing rows support standard MOLLE attachments.
What should I store in MOLLE pouches?
Common MOLLE pouch items include first aid supplies, flashlights, water bottles, snacks, maps, survival tools, and electronic accessories that require fast access outdoors.
How much weight should be attached to MOLLE webbing?
Heavy gear should stay close to the backpack center and near your back. Avoid overloading outer side panels to maintain balance and comfort on longer hikes.
Pillar Article: How To Pack Your Backpacking Pack For Balance And Comfort
Other Related Articles:
- Backpack Bottom Compartment Use Guide: How To Organize Gear Fast
- How To Attach Molle Pouches Step-By-Step For Secure Gear Setup
- How To Pack A Hiking Bag For Stress-Free Trail Preparation
Explore More:





