

Setting Up A Rescue Rope Swivel The Right Way
How do you set up a rescue rope swivel the right way?
Setting up a rescue rope swivel correctly helps reduce rope rotation issues while rappelling, minimizes twisting under load, and improves overall system efficiency. A properly installed high strength rescue rope swivel creates smoother rope movement, reduces wear on equipment, and supports safer technical rescue operations when integrated into a compatible rigging system.
⏱ 8 min read
Setting Up A Rescue Rope Swivel The Right Way
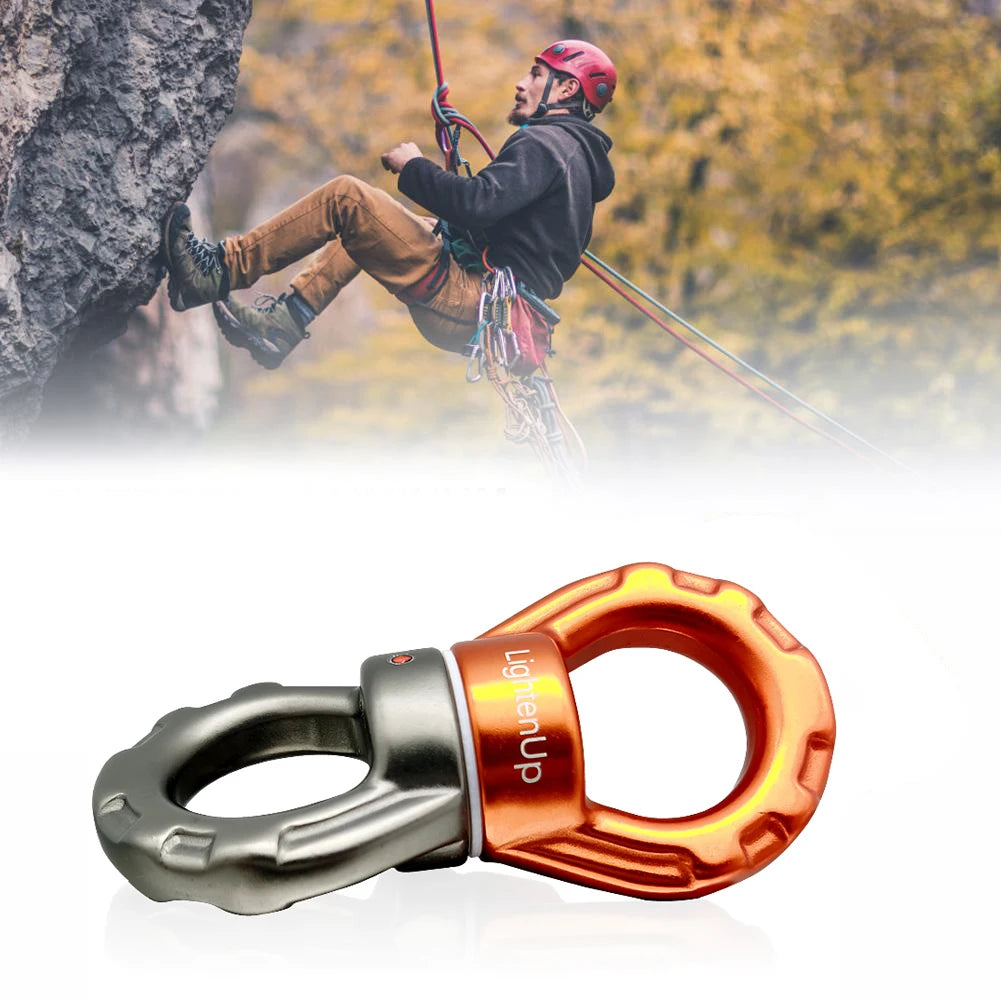
Setting up a rescue rope swivel correctly can eliminate dangerous rope rotation issues while rappelling and improve overall system performance. Whether you're building a technical rescue system, managing rope rescue gear, or improving rescue rigging rope twist prevention, the right setup can make a major difference. A heavy duty rope swivel connector helps reduce friction, improve rope alignment, and create smoother movement under load. But many rescuers overlook critical installation details that affect safety and efficiency.
Have you ever noticed a rope twisting, spinning, or becoming harder to control during a descent? In many cases, the problem isn't the rope—it's the rigging configuration.
👉 Discover must-have rescue and outdoor gear before your next mission.
Explore reliable equipment including Hooks, Clips & Carabiners and Safety, Survival & Emergency essentials.
💡 See it in action
Why Rescue Rope Swivels Matter
When ropes are loaded, especially during long rappels or technical rescue operations, they can naturally develop twists. These twists create resistance, reduce efficiency, and may increase wear on ropes and connectors.
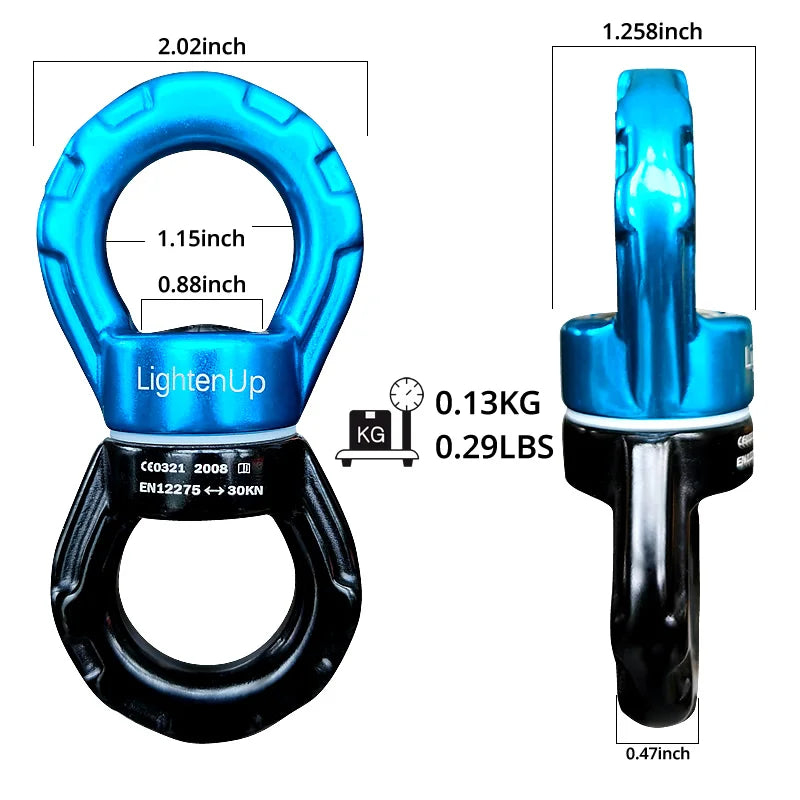
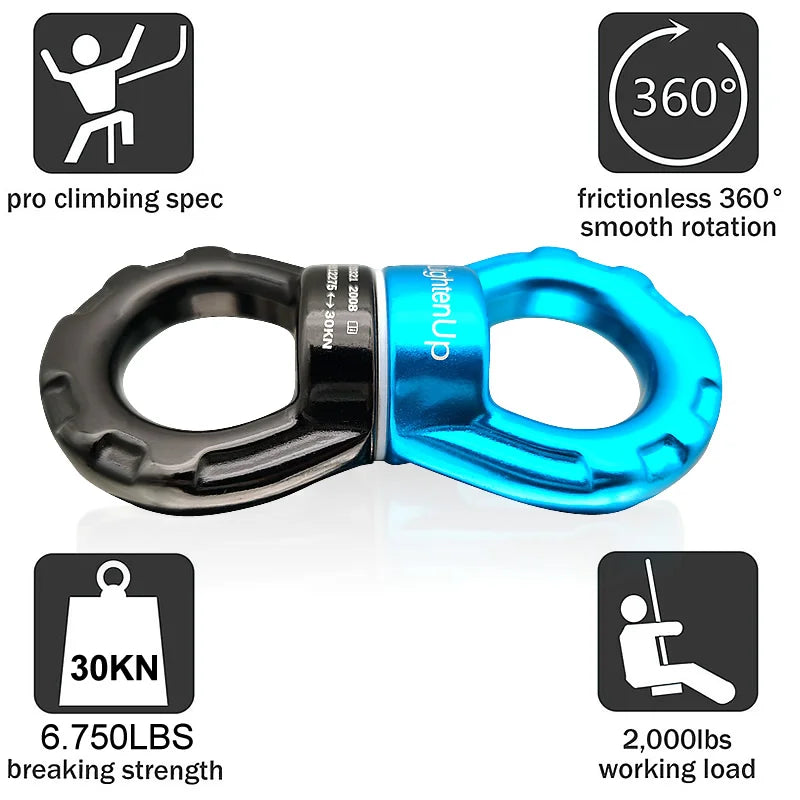
A high strength rescue rope swivel allows connected components to rotate independently. Instead of forcing the rope system to absorb rotational forces, the swivel redirects those forces through its bearing mechanism.
This simple addition helps:
- Reduce rope twist buildup
- Improve rope handling
- Minimize tangles during descent
- Decrease equipment wear
- Create smoother transitions through rigging systems
- Improve patient and rescuer comfort during lowering operations
Many experienced rescue teams consider rope swivels essential whenever significant rope movement or repeated lowering cycles are expected.
How Does Setting Up A Rescue Rope Swivel Work?
Setting up a rescue rope swivel involves installing the swivel at the correct point within the rigging system, ensuring compatible connectors are used, verifying proper orientation, and performing a full load-path inspection. This process helps prevent rope rotation issues while rappelling and improves system reliability during technical rescue operations.
Step 1: Inspect All Components
Before installation, inspect every component in the system.
- Check the swivel body for damage.
- Inspect bearings for smooth rotation.
- Verify connector gates function correctly.
- Examine ropes for cuts, glazing, or excessive wear.
- Confirm load ratings meet operational requirements.
Never install a damaged swivel, even if the defect appears minor.
Step 2: Identify the Correct Installation Point
The most effective placement is typically between the load and the main rigging connection where rotational forces are expected.
Common placement locations include:
- Between litter systems and lowering lines
- At patient attachment points
- Within technical rope access systems
- At rescue hauling interfaces
- Near rotating loads during lowering operations
Proper placement is often more important than simply adding a swivel somewhere within the system.
Step 3: Connect Using Compatible Hardware
Use a properly rated heavy duty rope swivel connector with compatible rescue-grade connectors.
Avoid:
- Cross-loading carabiners
- Overcrowding attachment points
- Mixing incompatible hardware sizes
- Creating side-loading conditions
The swivel should remain free to rotate without interference from adjacent hardware.
Step 4: Verify Freedom of Movement
Rotate the swivel manually before loading the system.
If rotation feels restricted, identify the cause immediately. Common causes include:
- Connector interference
- Improper orientation
- Debris contamination
- Incorrect attachment geometry
Step 5: Perform a Controlled Test Load
Before operational use, conduct a controlled loading test.
This allows the team to confirm:
- Proper load transfer
- Smooth rotation
- Connector alignment
- System stability
- Expected rope movement
| Inspection Item | Verify Before Use |
|---|---|
| Swivel Rotation | Smooth and unrestricted |
| Connector Gates | Fully locked |
| Load Alignment | Straight and centered |
| Rope Condition | No visible damage |
| Attachment Points | Properly rated |
👉 Learn how to choose the right hiking gear and rescue equipment.
Pair quality swivels with dependable equipment from Gloves & Protective Gear, Outdoor Training Accessories, and Hooks, Clips & Carabiners.
Common Mistakes That Cause Rope Rotation Issues While Rappelling
Even the best swivel cannot compensate for poor rigging practices.
The most common mistakes include:
- Installing the swivel in the wrong location
- Using undersized connectors
- Allowing side loading
- Failing to inspect bearings
- Using damaged ropes
- Ignoring rotational forces during system design
Many rope rotation issues while rappelling originate from the overall system layout rather than the swivel itself.
Teams that regularly review rigging configurations often identify hidden rotational problems before they become operational hazards.
💡 See it in action
Equipment Checklist for Rescue Rigging Rope Twist Prevention
Building an effective rescue system requires more than a swivel alone.
- High strength rescue rope swivel
- Rescue-rated carabiners
- Compatible anchor system
- Certified rescue rope
- Edge protection
- Backup safety system
- Inspection log documentation
- Personal protective equipment
Many teams store these components using Gear Organizers & Pouches or transport them in solutions from Backpacking & Carry collections for faster deployment.
How Proper Swivel Installation Improves Safety and Efficiency
A properly installed swivel delivers measurable operational advantages.
Reduced Rope Wear
Twisting introduces unnecessary friction. By reducing rotational stress, ropes typically experience less abrasion and maintain better handling characteristics.
Improved Load Control
Loads move more predictably when rotational energy is managed effectively. This is especially important during patient transport operations.
Less Rescuer Fatigue
Smoother systems require fewer corrections. Over long operations, reduced manual intervention can help rescuers conserve energy.
Better System Reliability
Fewer twists and tangles create cleaner rope paths and more consistent performance under changing conditions.
"After adding swivels to our litter systems, we noticed significantly smoother lowering operations and fewer rope management issues." — Technical rescue team feedback
Swivel vs No Swivel Comparison
| Performance Area | Without Swivel | With Swivel |
|---|---|---|
| Rope Twisting | Higher | Reduced |
| Load Rotation | More Frequent | Better Controlled |
| Equipment Wear | Higher | Lower |
| System Efficiency | Variable | Improved |
| Operational Smoothness | Moderate | High |
Real Rescue Scenarios Where Swivels Make a Difference
Steep Cliff Rescues
Long descents often generate rope twists as ropes move through multiple directional changes. A swivel helps maintain smooth rope travel.
Confined Space Operations
Restricted movement can introduce rotational forces. Swivels help isolate those forces from the main rope system.
Patient Litter Systems
When terrain forces directional changes, litter rotation can occur. A properly positioned swivel helps reduce unwanted spinning.
Industrial Rope Access
Repeated ascents and descents benefit from reduced twisting, particularly when technicians spend extended periods suspended.
For extended outdoor deployments, teams often complement rescue equipment with essentials from Emergency Lighting, Headlamps & Wearable Lights, and Portable Power Banks.
Inspection and Maintenance Tips for Long-Term Performance
Even the best swivel requires regular maintenance.
- Inspect before and after every use
- Keep bearings clean
- Remove dirt and contaminants
- Follow manufacturer service recommendations
- Record inspections in equipment logs
- Retire damaged equipment immediately
Routine inspections help identify wear before it affects performance.
Many professionals create simple inspection checklists and store maintenance tools alongside equipment in Camping Storage & Boxes for quick access during training and deployment.
👉 Get yours now before your next trip or rescue deployment!
Upgrade your system with the high strength rescue rope swivel and build a smoother, more efficient rigging setup.
💡 See it in action
Conclusion
Se
Pillar Article: How Rope Swivels Improve Safety In 5 Easy Steps
Other Related Articles:
- Tips For Aerial Yoga Rigging To Prevent Tangles Fast
- Using Swivel Carabiners For Hammocks Like A Pro
- Prevent Hammock Rope From Twisting Without Re-Rigging
Explore More:





