

Hydration Pack In Backpack: Step-By-Step Setup Guide
Does a hydration pack in backpack setup really improve outdoor comfort?
A hydration pack in backpack setup improves comfort by keeping water accessible without stopping, reducing fatigue, and balancing weight across your back. When fitted correctly, it prevents strain, keeps you hydrated consistently, and allows hands-free movement—making cycling, commuting, and outdoor trips safer and more efficient.
Hydration Pack In Backpack: Step-By-Step Setup Guide
⏱ 7 min read — Hydration pack in backpack setups can completely change how you ride, commute, or explore outdoors—if done right. This guide breaks down tips for comfortable cycling backpack fit, choosing a compact hydration backpack for daily travel, and mastering how to pack essentials for bike trips without bulk. Perfect for lightweight gear for active parents outdoors, you’ll discover smarter ways to stay hydrated, balanced, and hands-free—while avoiding the common mistakes most people don’t even realize they’re making…
Ever found yourself stopping mid-ride just to grab water, only to lose momentum and rhythm? Or worse—arriving dehydrated because reaching your bottle felt like too much effort? A better setup solves that instantly.
👉 Discover must-have camping gear
Explore smart hydration solutions inside Hydration & Food designed for hands-free outdoor comfort.
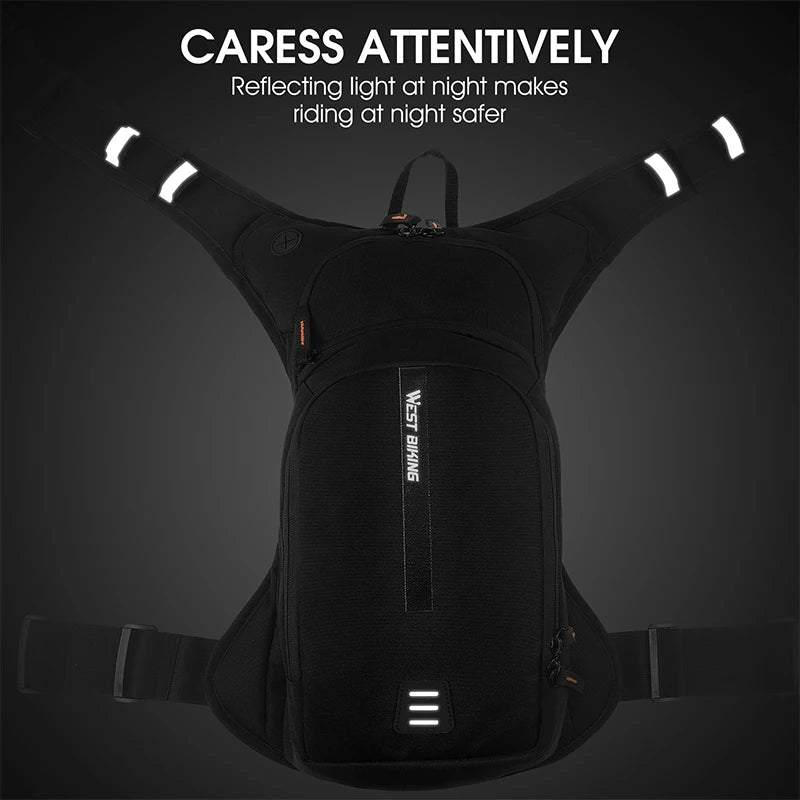
💡 See it in action
Why a hydration pack in backpack setup matters
Hydration isn’t just about comfort—it directly affects performance, safety, and endurance.
- No need to stop or slow down
- Even weight distribution reduces back strain
- Encourages consistent hydration habits
- Keeps your hands free for better control
Many outdoor enthusiasts report feeling less fatigued simply because they drink more regularly without effort.
How to set up a hydration pack in backpack (step-by-step)
A hydration pack in backpack works best when the bladder is secured upright, hose routed cleanly, and weight distributed close to your spine. Proper setup prevents sloshing, leaking, and discomfort while keeping water easily accessible during movement.
-
Insert the hydration bladder
Place it in the dedicated sleeve inside your backpack. -
Secure the bladder
Use clips or loops to keep it upright and stable. -
Route the hose
Feed it through the shoulder port for easy access. -
Adjust strap positioning
Keep the bite valve near chest level. -
Balance your load
Heavier items should sit close to your back.
Pair your setup with smart storage from Gear Organizers & Pouches to keep everything tidy and accessible.
How to get a comfortable cycling backpack fit
An uncomfortable backpack can ruin even the best ride. Fit matters more than most people realize.
- Chest strap: Keeps shoulder straps stable
- Hip belt: Transfers weight off shoulders
- Snug fit: Prevents bouncing during movement
- Ventilation: Reduces sweat buildup
For longer trips, combine your setup with items from Lightweight Daypacks for better airflow and comfort.
👉 Learn how to choose the right hiking gear
Upgrade your outdoor setup with lightweight solutions that improve comfort and efficiency.
How to pack essentials for bike trips without bulk
Overpacking is one of the biggest mistakes beginners make. The goal is balance—not quantity.
| Item | Purpose | Placement Tip |
|---|---|---|
| Hydration bladder | Water supply | Closest to your back |
| Snacks | Energy boost | Top compartment |
| Tools | Emergency fixes | Bottom pocket |
| Extra clothing | Weather protection | Rolled tightly |
Use Compression & Packing Bags to reduce bulk and maximize space.
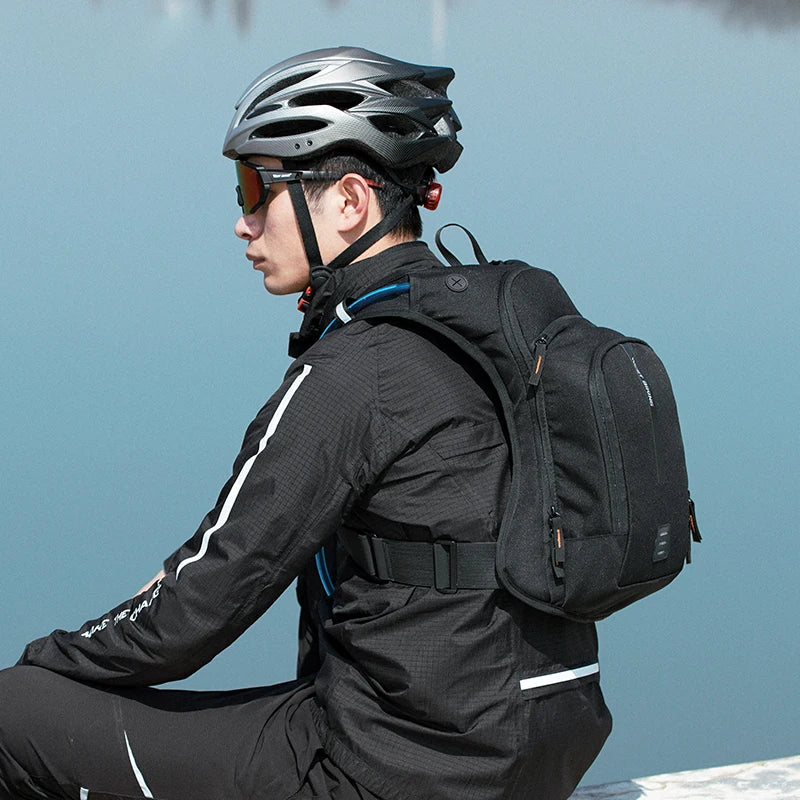
💡 See it in action
Smart gear checklist for outdoor rides
- Hydration pack system
- Lightweight snacks
- Repair kit
- Portable lighting from Headlamps & Wearable Lights
- Emergency kit from First Aid Kits
This simple setup covers 90% of real-world cycling and outdoor scenarios.
Common hydration setup mistakes to avoid
- Filling the bladder too full (causes pressure and leaks)
- Poor hose routing (leads to inconvenience)
- Unbalanced packing (causes back pain)
- Ignoring cleaning (leads to bacteria buildup)
Adding protective storage like Waterproof & Dry Bags helps prevent leaks from damaging other gear.
Why this setup works for active parents outdoors
Parents juggling kids, gear, and movement need simplicity. A hydration pack delivers that.
- Hands-free hydration while supervising kids
- Less stopping during activities
- Compact design reduces clutter
- Perfect for park trips, hikes, or travel days
Many families combine this with Family Outdoor Bundles for smoother outings.
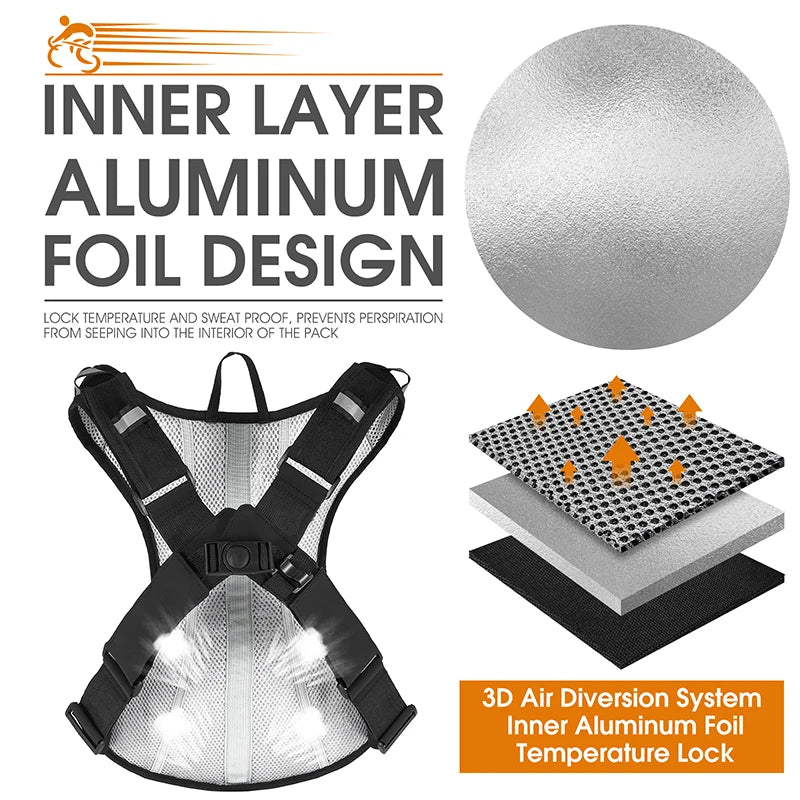
💡 See it in action
👉 Get yours now before your next trip!
Experience hands-free hydration with this compact hydration backpack for daily travel designed for comfort and performance.
Frequently asked questions
How much water should I carry in a hydration pack?
Most users carry 1.5 to 3 liters depending on trip length. Short rides need less, while longer outdoor activities require more to stay properly hydrated.
Can I use a hydration pack for daily commuting?
Yes, a compact hydration backpack for daily travel works great for commuting, especially in hot weather or long-distance rides.
How do I clean a hydration bladder?
Rinse after each use and deep clean weekly with mild soap or cleaning tablets to prevent bacteria and odors.
Is a hydration pack better than water bottles?
For active movement, yes. It allows continuous hydration without stopping, improving performance and convenience.
With the right setup, your hydration pack in backpack becomes more than gear—it becomes part of your rhythm outdoors.
Pillar Article: Hydration Pack Outdoor Products: How To Choose And Use Them
Other Related Articles:
- Hydration Pack For Day Hike: How To Pack Efficiently
- Hydration Bags For Hiking: How To Choose And Pack Right
- Hydration Pack Reservoir: How To Fill, Clean, And Maintain
Explore More:





