

Camping Tarp Configurations: Which Setup Works For Windy Weather?
Camping Tarp Configurations: Which Setup Works For Windy Weather?
Question: Which camping tarp configurations hold up best in strong wind and rain?
Camping tarp configurations with low wind profiles, tight guylines, and angled edges perform best during storms and shifting gusts. A-frame, plow-point, and lean-to setups reduce flapping, improve runoff, and create safer shelter zones for families, beach campers, and backpackers dealing with unpredictable weather overnight.
⏱ 9 min read
Nothing ruins a camping trip faster than a collapsed tarp at 2 a.m. If you’ve ever fought loose guylines in the dark, dealt with windy beach conditions with babies, or woken up to water dripping into your sleeping area, you already know how important tarp positioning really is. The good news? You do not need expensive gear to stay dry and protected. The right camping tarp configurations can dramatically improve comfort, safety, and weather protection for solo campers, families, and car campers alike.
Ground Sheets & Tarps | Weather Protection & Environment | Shop Waterproof Shelter Tarp
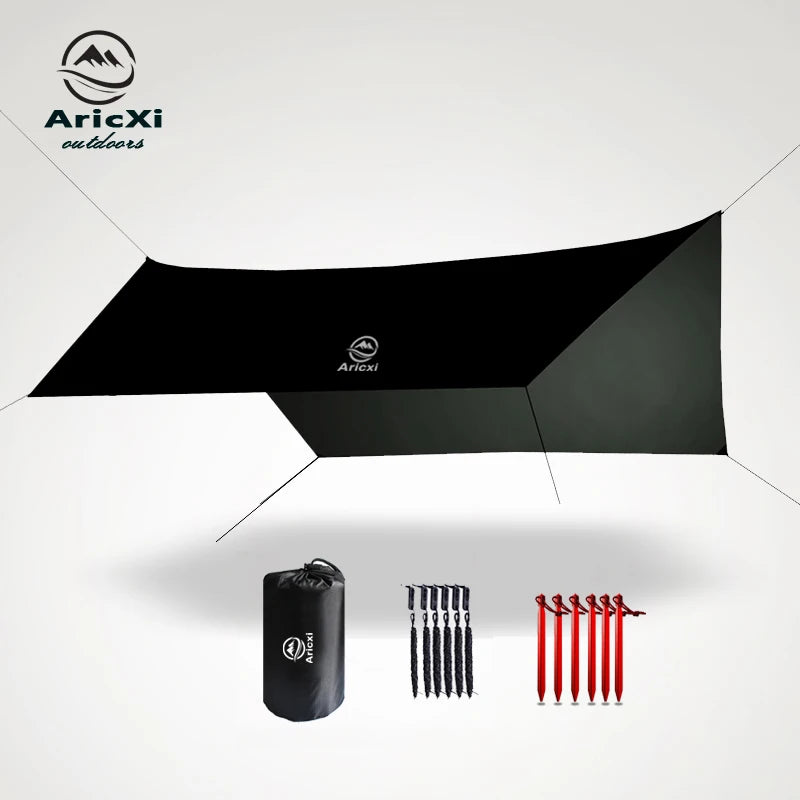
💡 See it in action
Which Camping Tarp Configurations Work Best in Windy Weather?
Camping tarp configurations designed for wind use lower angles, reinforced anchor points, and directional positioning to reduce movement and water pooling. A-frame and plow-point shelters consistently outperform flat overhead tarps because they redirect gusts instead of trapping them like sails during storms or beach camping conditions.
| Configuration | Best Use | Wind Resistance | Rain Protection | Setup Difficulty |
|---|---|---|---|---|
| A-Frame | Forests and family camps | High | Excellent | Easy |
| Plow-Point | Beach and exposed terrain | Excellent | Very Good | Moderate |
| Lean-To | Quick day shelter | Moderate | Moderate | Easy |
| Diamond Fly | Solo backpacking | Good | Good | Moderate |
What gear actually makes camping easier during storms? Surprisingly, the answer is usually proper shelter angles, strong stakes, and dry storage—not oversized tents.
Why Most Tarp Shelters Fail in Strong Wind
Most failed shelters share the same problems: poor anchor spacing, loose guylines, and flat roof angles that catch wind. Campers often pitch tarps too high for airflow without considering changing gust directions overnight.
- Loose corners create dangerous flapping
- Flat tarp roofs collect rainwater
- Weak stakes pull out in sandy soil
- Improper ridge tension causes sagging
- Open sides expose sleeping areas to sideways rain
A weekend camper from Oregon shared that their beach tarp collapsed twice before sunrise because the tarp was pitched broadside to the wind. After switching to a plow-point layout and lower profile, the shelter stayed stable through 35 mph gusts.
For extra protection during unstable forecasts, many campers combine tarp systems with gear from Wind & Cold Protection and Waterproof & Dry Bags.
Camping Tents & Shelter | Hooks, Clips & Carabiners | Explore Waterproof Tarp Setup Options
How the A-Frame Setup Creates Better Rain Protection
The A-frame remains one of the most trusted camping tarp configurations because it balances airflow, rain runoff, and wind resistance. It works especially well for family camping and wooded campsites.
- Stretch a ridgeline tightly between two anchor points
- Drape the tarp evenly across the center
- Stake both sides low to the ground
- Angle one side lower if storms approach
- Tighten guylines after 15 minutes of fabric settling
The angled roof naturally channels rain away from sleeping zones while reducing wind pressure. This setup also gives enough interior room for gear organization and cooking during light rain.
Campers pairing A-frame shelters with Camping Storage & Boxes and Folding Chairs & Tables often report cleaner and more comfortable campsites during wet weekends.
Benefits of the A-Frame Setup
- Excellent rain runoff
- Simple beginner-friendly setup
- Stable in moderate to strong wind
- Works well for families with kids
- Easy access on both sides
For campers who prioritize easy transport, lightweight tarp systems pair naturally with Compression & Packing Bags and Lightweight Daypacks.
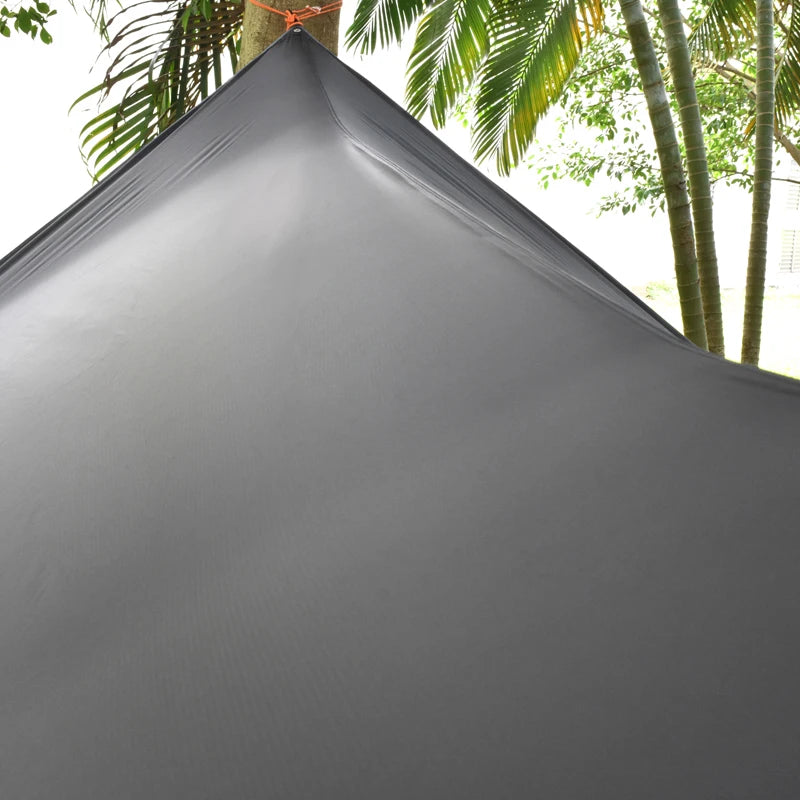
💡 See it in action
Why the Plow-Point Shelter Handles Wind Shifts Better
The plow-point configuration creates a wedge-shaped shelter that cuts through heavy wind instead of resisting it directly. This makes it one of the best setups for beaches, deserts, and open campgrounds.
The front corner faces the wind while the rear widens into protected sleeping space. This design lowers drag and keeps tarp movement minimal even during shifting gusts.
| Feature | A-Frame | Plow-Point |
|---|---|---|
| Wind Handling | Very Good | Excellent |
| Interior Space | Larger | Compact |
| Beach Performance | Good | Excellent |
| Setup Speed | Fast | Moderate |
Experienced coastal campers often combine this shelter with sand stakes and backup guylines stored in Gear Organizers & Pouches.
How Families Handle Windy Beach Conditions With Babies
Windy beach conditions with babies require more than simple shade. Parents need lower tarp profiles, secure corners, and protected sleep zones to prevent blowing sand, loud fabric snapping, and sudden tarp movement.
One family traveling along the Outer Banks switched from a pop-up canopy to a low A-frame tarp after their infant struggled to nap during constant wind gusts. The quieter shelter reduced flapping noise and created a more stable shaded environment.
Family-Friendly Shelter Tips
- Pitch tarps lower than normal on beaches
- Use extra anchor points in sand
- Create windbreak walls on exposed sides
- Store blankets in waterproof bags
- Keep emergency lighting accessible overnight
Parents camping with children frequently add support gear from Kids Seating & Comfort, Family Outdoor Bundles, and Emergency Lighting.
Tips for Waterproof Camping Shelter Setup
Even premium tarps leak if they are pitched incorrectly. Waterproof performance depends more on slope angle and tension than fabric thickness alone.
- Always angle the tarp for water runoff
- Avoid low pockets where rain can collect
- Keep sleeping areas uphill from runoff lines
- Retighten guylines after heavy rain begins
- Use drip lines on ridgelines to redirect water
One of the most overlooked tips for waterproof camping shelter setup is airflow. Completely sealed shelters trap condensation, causing moisture buildup that feels like leaks by morning.
For wet-weather trips, campers often prepare with Rain Ponchos & Capes, Blankets & Sleeping Comfort, and Tent & Camping Lanterns.
Quick Waterproof Checklist
- Steep tarp angles
- Tight center ridgeline
- Reinforced corner stakes
- Groundsheet under sleeping pads
- Backup cordage packed dry
Campers who frequently face stormy weather often upgrade to larger coverage systems like the UV Waterproof Shelter Tarp for expanded cooking and sleeping protection.
Essential Gear Checklist for Stormproof Camps
Reliable camping tarp configurations work best when paired with practical support gear that improves stability, comfort, and emergency readiness.
| Gear | Purpose |
|---|---|
| Extra guylines | Backup anchoring during high wind |
| Sand or heavy-duty stakes | Better ground hold |
| Dry bags | Protect clothes and electronics |
| Headlamps | Night setup and emergency visibility |
| Portable power bank | Backup charging during storms |
Helpful additions include Headlamps & Wearable Lights, Portable Power Banks, and Car Camping Accessories.
Many long-term campers also recommend keeping repair supplies and extra clips stored inside Safety, Survival & Emergency kits.
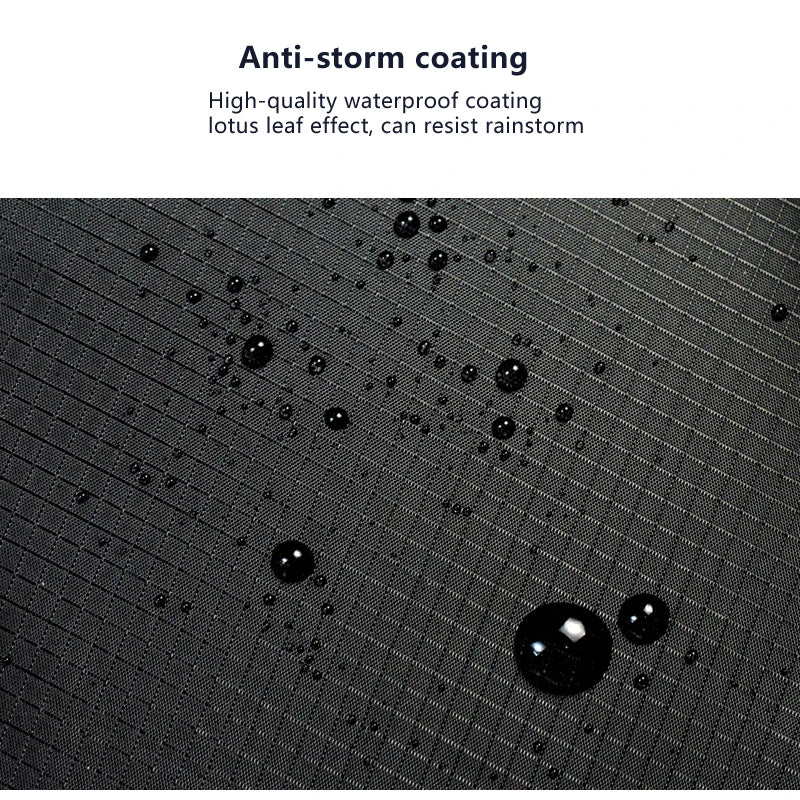
💡 See it in action
Common Tarp Setup Mistakes Campers Make
Even experienced campers occasionally overlook small details that create major shelter problems overnight.
- Pitching tarps too high during storms
- Ignoring wind direction changes
- Using weak plastic stakes in sand
- Leaving tarp edges loose
- Failing to test runoff before sleeping
A Colorado backpacker shared that lowering tarp height by just 12 inches completely stopped violent flapping during a mountain thunderstorm. Small adjustments often make the biggest difference.
For campers building efficient all-weather kits, combining tarp systems with Fire Starters & Ignition, Outdoor Cookware, and Collapsible Water Bottles creates more self-sufficient campsites.
FAQ
What is the strongest camping tarp configuration for high wind?
The plow-point configuration is often considered the strongest for exposed windy environments because its angled wedge design reduces drag and minimizes flapping during strong gusts.
How do you set up camping tarp shelters in heavy rain?
Use steep angles, tight guylines, and elevated runoff positioning. Avoid flat roofs and always ensure water flows away from sleeping areas.
Are tarp shelters better than tents in windy weather?
In some situations, yes. Low-profile tarp shelters can outperform tall tents because they catch less wind and allow flexible positioning based on terrain and weather direction.
What works best for windy beach conditions with babies?
Lower A-frame shelters with extra sand anchors work best because they reduce blowing sand, create stable shade, and minimize loud tarp movement during naps and overnight sleep.
What extra gear helps keep tarp shelters stable?
Heavy-duty stakes, backup guylines, carabiners, dry bags, and emergency lighting all improve safety and convenience during unstable weather conditions.
Tags: camping tarp configurations, windy weather camping, waterproof tarp setup, how to set up camping tarp, camping shelter tips, windy beach camping, family camping gear, tarp shelter ideas, stormproof camping
Pillar Article: Camping Lightweight Tarp: Best Fit For Solo Vs Family Trips
Other Related Articles:
Explore More:





