

Water Hose Leak Repair: Fix Leaks Fast (DIY Guide 2026)
Water Hose Leak Repair: Fix Leaks Fast (DIY Guide 2026)
Nothing disrupts garden work faster than a garden hose suddenly spraying water in all directions or losing pressure halfway through watering. A small leak might seem harmless at first, but it can quickly waste water, reduce performance, and eventually make the hose unusable.
The good news: most hose leaks can be diagnosed in minutes and repaired at home without replacing the entire hose. This guide walks you through a practical, scenario-based system to identify the exact leak type, choose the right repair method, and decide when a simple fix is enough—or when replacement is the smarter move.
Understanding Garden Hose Leaks: Types, Symptoms & What They Mean
Before repairing anything, it’s important to understand what kind of failure you’re dealing with. Most hose problems fall into three categories: pinhole leaks, cracks or splits, and connector failures. Each requires a different repair strategy.
Common Leak Symptoms You Should Notice First
- Fine mist spraying from random points → likely pinholes
- Visible water jet from a single line → crack or split
- Leak only near faucet or nozzle → connector failure
- Drop in pressure without visible leak → internal hose damage
Pinholes vs Cracks vs Connector Failures
- Pinholes: Small punctures often caused by aging rubber or UV exposure.
- Cracks: Structural breaks usually from bending, freezing, or over-pressurization.
- Connector leaks: Loose or worn fittings at brass or plastic ends.
Understanding these categories helps you avoid wasting time on the wrong repair method.
How to Diagnose a Water Hose Leak Step-by-Step (Decision-Based Method)
Effective repair starts with accurate diagnosis. Instead of guessing, use a structured pressure-and-mapping method to locate leaks precisely.
Pressure Test Method to Locate Hidden Leaks
- Disconnect the nozzle and cap one end of the hose.
- Turn on water at low pressure.
- Slowly run your hand along the hose length.
- Mark every wet or spraying point.
Step-by-Step Leak Mapping Technique
For longer hoses, divide the hose into sections and test each part separately. This helps isolate multiple weak points, which is common in older rubber hoses.
Once mapped, you can decide whether to patch small areas or cut and replace a section entirely.
Common Causes of Hose Leaks (And Why They Happen)
Most hose failures don’t happen randomly. They are usually caused by predictable environmental or mechanical stress factors:
- UV damage: Sun exposure breaks down rubber and vinyl over time.
- High water pressure: Excess pressure expands weak points until they rupture.
- Improper storage: Kinks and tight coils create permanent stress points.
- Freeze damage: Water expands inside the hose, creating internal cracks.
- Connector wear: Brass or plastic fittings loosen after repeated use.
These causes help explain why some repairs last weeks while others last years.
Quick Temporary Hose Leak Fixes (Fast Emergency Solutions)
When you need an immediate fix—such as during watering or irrigation—temporary solutions can restore functionality within minutes.
Using Waterproof Repair Tape for Instant Seal
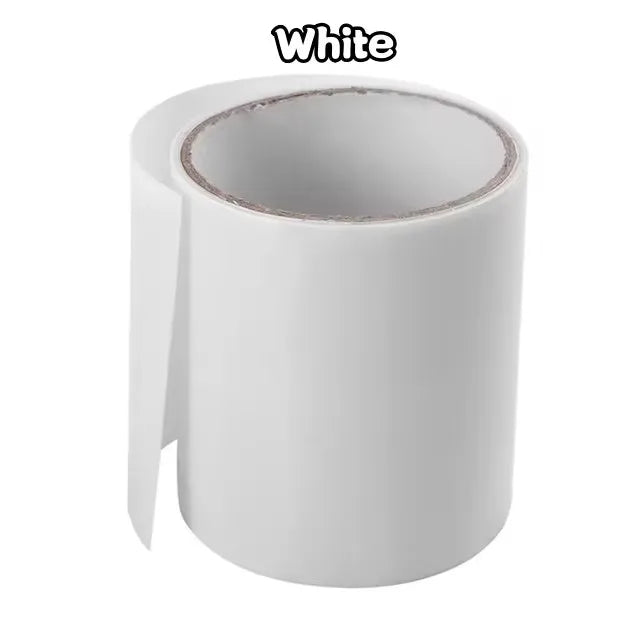
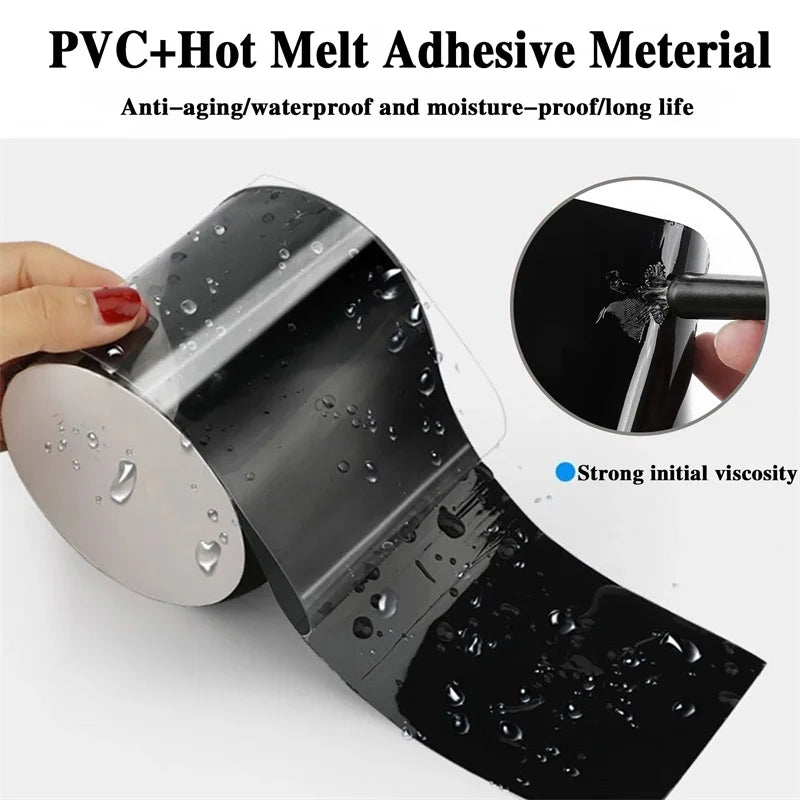
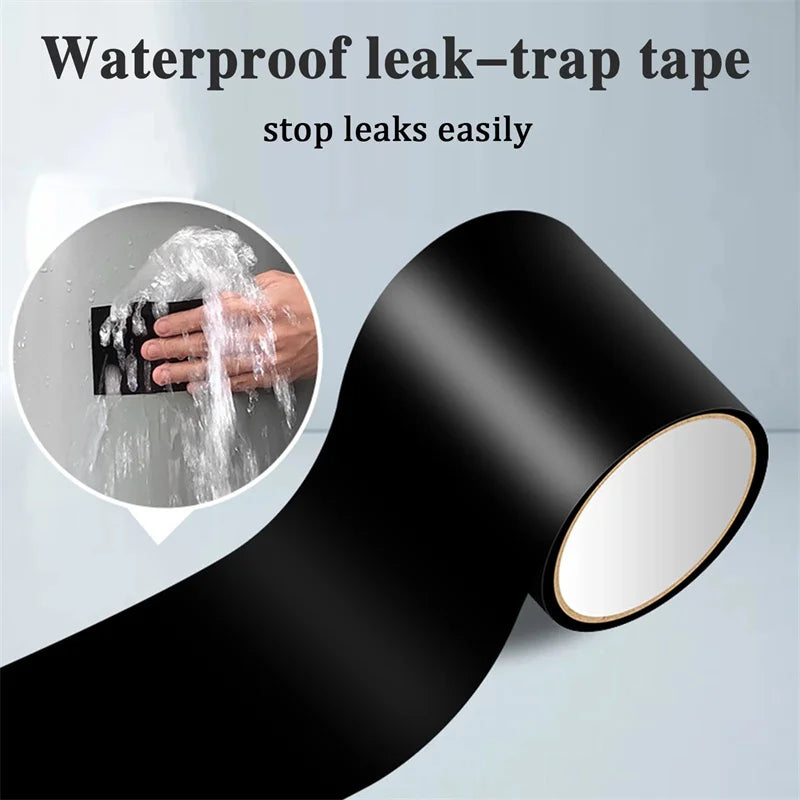
Waterproof repair tape is one of the fastest ways to stop active leaks. It bonds directly to rubber or vinyl surfaces and creates a pressure-resistant seal.
- Dry or slightly damp surface application
- Wrap tightly around leak point (overlap each layer)
- Press firmly to activate adhesive bonding
Recommended product:
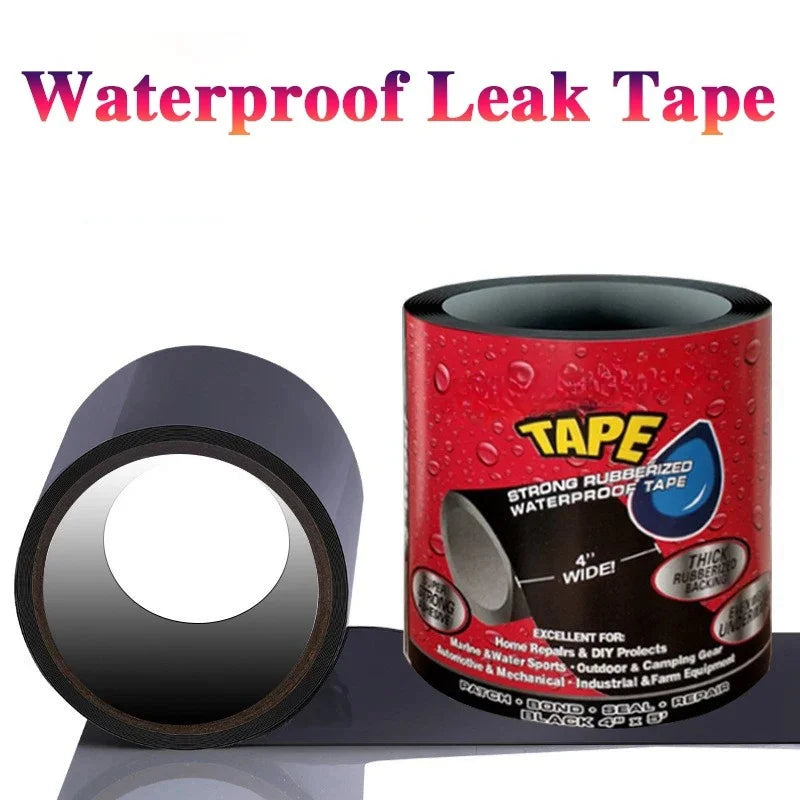
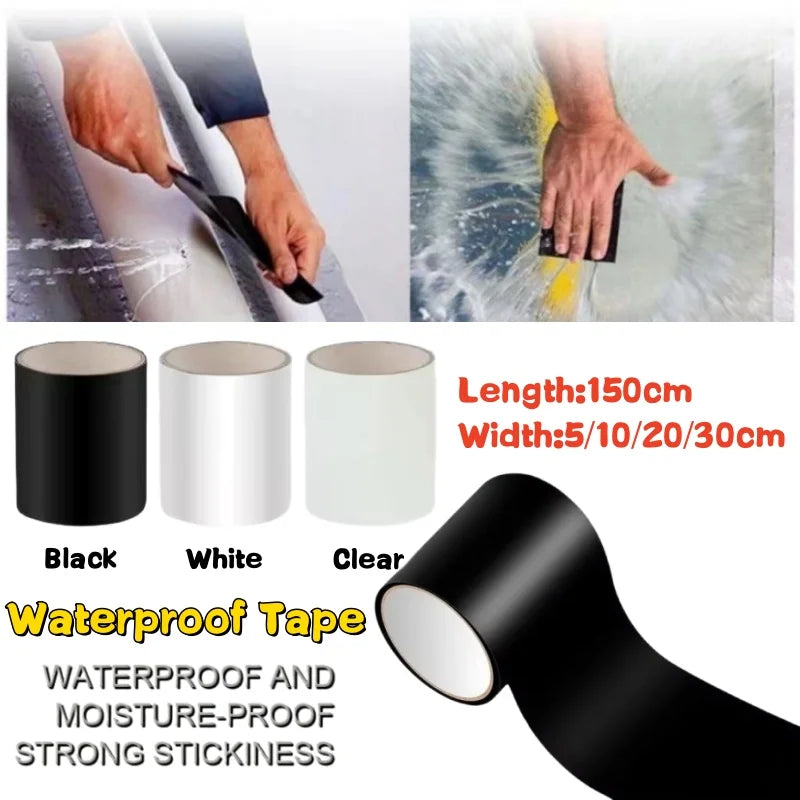
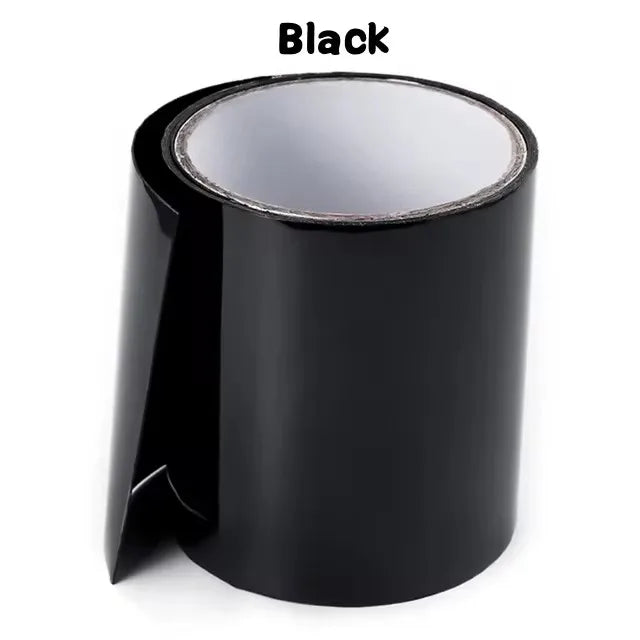
150cm Waterproof Repair Tape provides high-strength sealing for hoses, pipes, and outdoor equipment. It is heat-resistant and designed for both emergency and semi-permanent repairs.
Hose Clamp Fix for Connector Leaks
If the leak occurs near a connector, tightening or replacing a hose clamp often solves the problem instantly. Ensure the clamp sits behind the barb fitting for maximum grip.
Leak Sealing Compound for Small Drips
Sealant compounds can fill micro-cracks but require curing time. These are best for low-pressure systems or minor seepage.
| Method | Speed | Durability | Best Use |
| Waterproof Tape | Fast | Medium | Emergency hose leaks |
| Hose Clamp | Fast | High | Connector failures |
| Sealant Compound | Slow | Medium | Small cracks/drips |
Permanent Hose Repair Methods (Long-Term Fixes That Last)
If you want a durable solution, temporary patches are not enough. Permanent repairs involve replacing or rebuilding damaged sections.
Splicing Damaged Hose Sections
Cut out the damaged part and reconnect both ends using a hose splice kit. This restores full water flow while removing weak sections entirely.
Replacing Hose Connector with Brass Fittings
Brass fittings provide stronger sealing than plastic and withstand higher pressure levels, especially in irrigation systems.
Using Epoxy Putty for Cracked Rubber Hose Material
Epoxy putty hardens into a waterproof barrier and works well for irregular cracks. It is especially useful for aging rubber hoses with multiple weak spots.
Repair vs Replace Decision Guide (When Fixing Is Not Worth It)
Not every hose is worth repairing. Sometimes replacement is more cost-effective in the long run.
Damage Severity Matrix (Minor vs Structural Failure)
| Condition | Repair Recommended? | Reason |
| Single pinhole | Yes | Easy and durable patch possible |
| Multiple cracks | Maybe | Depends on hose age |
| Connector failure | Yes | Cheap replacement parts available |
| Severe splitting along length | No | Structural failure |
Cost vs Longevity Comparison
Small repairs can extend hose life by months or years, but if repair costs approach half the price of a new hose, replacement is usually the better option.
Best Tools & Materials for Water Hose Leak Repair
Having the right tools makes repairs faster and more reliable. A basic kit covers most household leak scenarios.
Essential DIY Hose Repair Toolkit
- Waterproof repair tape
- Hose clamps (various sizes)
- Brass hose connectors
- Hose cutter or sharp blade
- Epoxy putty
Recommended Materials for Different Leak Types
- Pinholes → waterproof tape or epoxy
- Cracks → splice kit or section replacement
- Connector leaks → brass fittings + clamps
Step-by-Step Real-World Repair Scenarios
Scenario 1: Pinholes in Garden Hose
Locate leak points, dry the surface, and wrap waterproof tape tightly around the affected area. Overlap layers for pressure resistance.
Scenario 2: Hose Connector Leak
Remove connector, inspect washer and fitting, replace if worn, and secure with a tightened clamp.
Scenario 3: Split Rubber Hose Material
Cut damaged section completely, install splice connector, and secure both ends with clamps for a permanent fix.
Common Mistakes That Make Hose Leaks Worse
- Over-wrapping tape without cleaning surface
- Ignoring water pressure levels
- Using wrong-size connectors
- Repairing severely brittle hoses instead of replacing
FAQ: Water Hose Leak Repair
How do I find the exact source of a water hose leak?
Use a pressure test and slowly run your hand along the hose to detect moisture or spray points.
Can I fix a leaking garden hose permanently or just temporarily?
Yes, small leaks can be permanently fixed using splice kits or connector replacements, while tape is usually temporary or semi-permanent.
What is the best method for water hose leak repair at home?
It depends on the damage—tape for emergencies, splice kits for cuts, and brass fittings for connector issues.
Is hose repair tape strong enough for high water pressure?
High-quality waterproof tape can handle moderate pressure, but extreme pressure systems should use mechanical repairs.
When should I replace a hose instead of repairing it?
If the hose has multiple cracks, structural damage, or widespread brittleness, replacement is more cost-effective and safer.
Conclusion
Repairing a leaking garden hose is less about quick guessing and more about structured diagnosis. By identifying whether you're dealing with pinholes, cracks, or connector failures, you can choose the right fix—whether that’s a fast waterproof tape solution or a long-term splice or fitting replacement.
Temporary fixes keep you working immediately, but permanent repairs ensure durability under pressure. When damage becomes widespread, replacing the hose is often the most efficient choice.
For fast emergency sealing and reliable field repairs, tools like waterproof repair tape provide an easy first line of defense while you decide on a permanent solution.
Pillar Article: Automotive Hose Repair: Roadside Fix & Replacement Guide





