

Fixing Plumbing Leak: Step-by-Step DIY Guide for Any Pipe Type
Fixing Plumbing Leak Fast: DIY Guide for Pipes, Joints & Cracks
A sudden plumbing leak can escalate from a minor drip to serious water damage in minutes. Whether it’s happening under your sink, behind a wall, or along an exposed pipe, the real challenge isn’t just fixing it—it’s deciding the right type of fix quickly. Temporary patch or permanent repair? Tape, epoxy, or clamp? This guide breaks down exactly how to identify the leak type and match it with the most effective repair method so you can stop the damage fast and avoid costly mistakes.
This is a scenario-based repair system designed to help you move from diagnosis → emergency control → long-term solution with confidence.
How to Quickly Identify the Source of a Plumbing Leak (Before You Fix Anything)
Before applying any repair method, accurate leak detection is critical. Many DIY repairs fail simply because the wrong section of pipe is treated.
Surface vs hidden leak indicators
- Surface leaks: visible dripping, corrosion, or wet pipe exterior
- Hidden leaks: damp drywall, ceiling stains, mold growth, or unexplained water bills
Pressure test basics
If water pressure drops suddenly when no fixtures are in use, you likely have a pressurized leak in a supply line. Isolate sections if possible to narrow the location.
Common misdiagnosis mistakes
- Confusing condensation with leaks on cold pipes
- Ignoring joint fittings as leak sources
- Assuming visible drip = origin point (water often travels along pipes)
Once identified, move immediately into classification—because repair method depends entirely on leak type.
Plumbing Leak Decision Tree: Joint vs Pinhole vs Cracked Pipe
Not all leaks behave the same. Matching the correct repair method starts with correctly categorizing the failure type.
Pipe joint fitting failures
Leaks at joints typically result from loose fittings, degraded sealant, or pressure vibration. These are often repairable without replacing the entire pipe section.
Pinhole corrosion leaks
Common in older copper pipes, pinhole leaks appear as tiny sprays or droplets. These require sealing compounds or epoxy-based solutions.
Crack or fracture leaks
Linear cracks in PVC or copper usually indicate structural stress. These require reinforcement, not just sealing.
Severity scoring system
- Low: slow drip or pinhole leak
- Medium: steady stream or joint leak
- High: burst pipe or fast-flow leakage
Rule of thumb: The faster the leak flow, the more mechanical reinforcement you need—not just sealant.
Pipe Material Compatibility Guide (PVC, Copper, PEX)
Repair success depends heavily on pipe material compatibility. Using the wrong method can worsen the damage.
PVC pipe repair limitations
PVC responds well to clamps and epoxy but can fail under poorly applied tape if surface preparation is ignored.
Copper pipe corrosion considerations
Copper is prone to pinhole leaks from internal corrosion. Epoxy and composite wraps perform better than mechanical clamps alone.
PEX tubing flexibility advantages
PEX rarely cracks but can leak at fittings. Repairs typically focus on connection points rather than pipe body.
Incompatible repair scenarios
- Using rigid epoxy on flexible tubing stress points
- Applying tape on oily or wet copper surfaces
- Over-tightening clamps on brittle PVC
Quick Temporary Fixes for Plumbing Leaks (Emergency First Response)
When water is actively leaking, your first goal is containment—not perfection. These methods are designed to stabilize the situation before permanent repair.
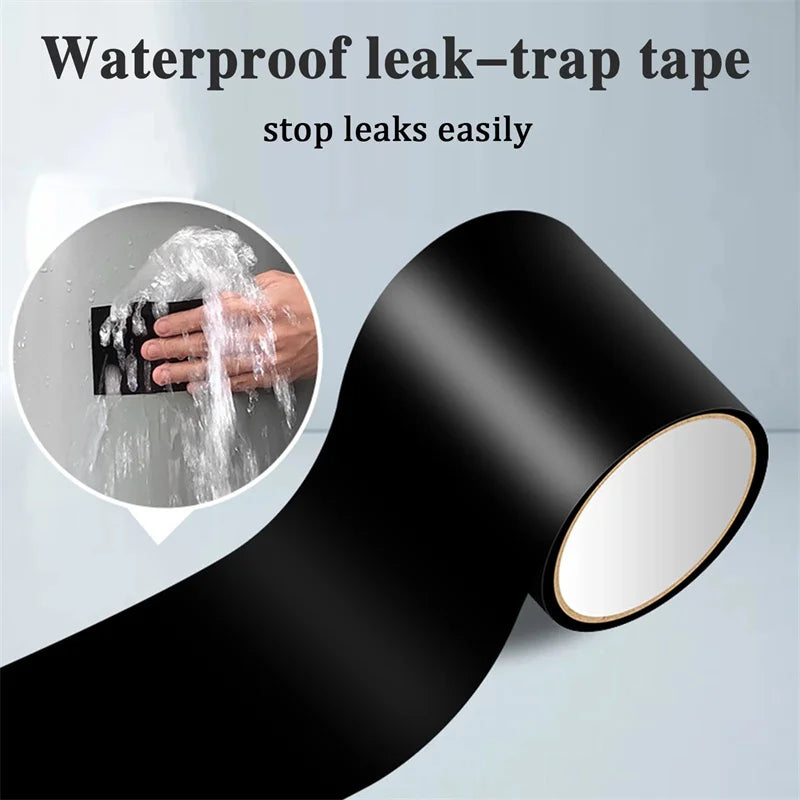
Pipe leak repair tape usage overview
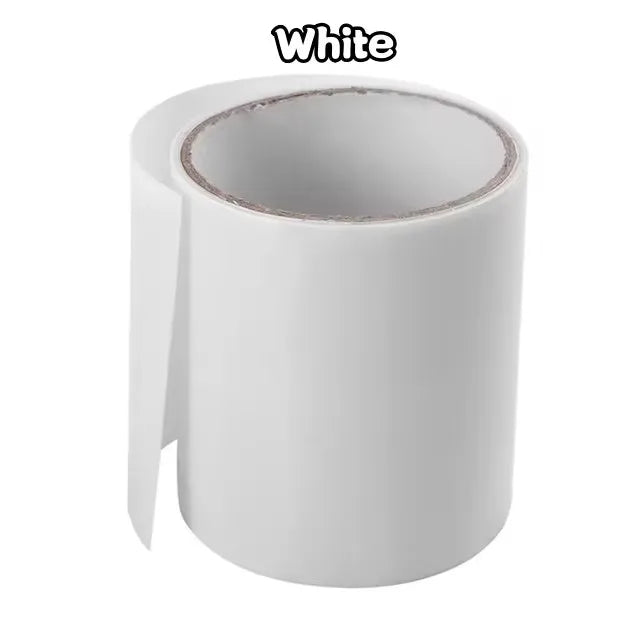
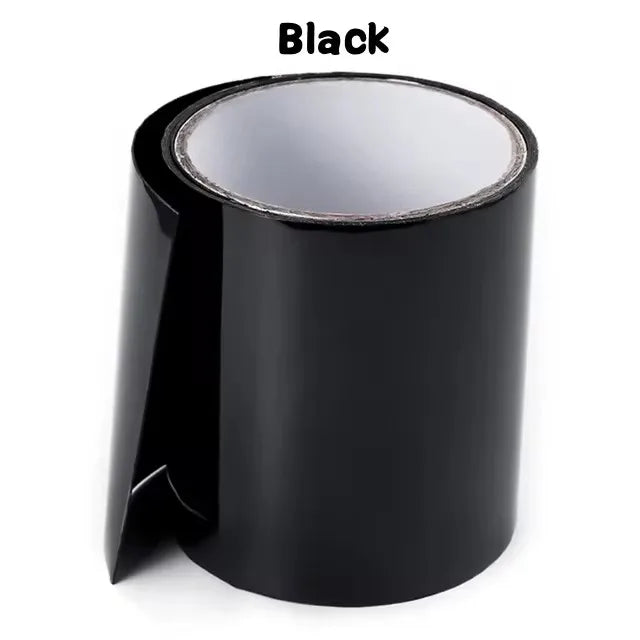
Self-fusing waterproof tape creates a pressure-resistant seal by bonding to itself under tension. It works best on clean, dry surfaces but can also perform in emergency wet conditions.
Pipe clamp emergency sealing
A rubber-lined clamp physically compresses the leak point, ideal for burst or linear cracks.
Epoxy putty quick patching
Hand-molded epoxy can seal pinholes and small fractures, curing into a hard waterproof barrier.
Durability expectations
- Tape: hours to weeks depending on pressure
- Clamp: days to months if properly fitted
- Epoxy: weeks to years for small leaks
Explore emergency repair tools if you need immediate stabilization solutions.
How to Use Waterproof Tape for Plumbing Leak Repair (Step-by-Step)
Waterproof repair tape is one of the fastest ways to stop an active leak, especially for pressurized household lines when time is critical.
Surface prep and drying requirements
Wipe the pipe surface as dry as possible. Even though some tapes adhere to damp surfaces, cleaner surfaces significantly improve sealing strength.
Wrapping technique for pressure sealing
- Start at least 5 cm before the leak point
- Stretch tape tightly as you wrap
- Overlap each layer by 50%
- Continue 5–10 cm past the leak
When waterproof tape fails
- High-pressure burst pipes
- Large structural cracks
- Oil-contaminated pipe surfaces
Best use cases
Best suited for low-to-medium pressure leaks, hose leaks, and temporary pipe stabilization before replacement.
Soft CTA: For fast emergency sealing, specialized waterproof tape can buy you time before a full repair—especially in active leak situations.
Epoxy Putty Repair for Pipes (More Permanent Fix Method)
Epoxy putty offers a more durable alternative when tape is not enough, especially for pinhole leaks and small cracks.
Mixing and application steps
- Cut and knead epoxy until uniform in color
- Press firmly over leak area
- Smooth edges to ensure full contact
Curing time expectations
Most epoxy systems begin hardening within minutes and fully cure within hours.
Best use on pinholes and small cracks
Highly effective for localized corrosion leaks in copper pipes or hairline PVC cracks.
Failure scenarios
- Wet or pressurized application during curing
- Large structural pipe fractures
- Flexing joints under movement stress
View repair reinforcement tools for more durable sealing options.
Pipe Clamp & Hose Clamp Repair Method (Mechanical Reinforcement Fix)
Mechanical clamps physically compress leak points and are ideal when adhesive solutions are not enough.
How clamps compress leaks
A rubber gasket distributes pressure evenly across the damaged area, reducing or stopping flow.
When to use hose clamp vs pipe clamp
- Hose clamp: flexible hoses or small-diameter pipes
- Pipe clamp: rigid pipes with localized damage
Compatibility
Works well on copper and PVC when properly cushioned. Less effective on irregular or corroded surfaces.
Long-term reliability limits
Clamps are generally intermediate solutions and should be followed by pipe replacement for permanent safety.
Leak Repair Decision Matrix: Temporary vs Permanent Fix Comparison
This matrix helps you quickly choose the right repair approach based on leak severity and desired durability.
| Repair Method | Best Leak Type | Durability | Risk of Failure | Use Case |
| Waterproof Tape | Small leaks, hoses | Short-term | Medium | Emergency stopgap |
| Epoxy Putty | Pinhole cracks | Medium to long-term | Low–Medium | Semi-permanent repair |
| Pipe Clamp | Fractures & bursts | Medium-term | Medium | Structural reinforcement |
This structured comparison helps you avoid over-repairing or under-repairing—a common DIY mistake.
When to Stop DIY and Call a Professional Plumber
Some plumbing issues go beyond safe home repair. Knowing when to escalate prevents larger damage and higher costs.
- High-pressure leaks: risk of sudden pipe failure
- Hidden wall leaks: requires diagnostic equipment
- Repeated repair failure: indicates structural damage
- Water damage spreading: mold or structural weakening risk
If any of these conditions apply, professional intervention is the safest option.
Conclusion
Fixing a plumbing leak effectively is less about guessing and more about structured decision-making. Identify the leak type, match it with the correct repair method, and understand whether you're applying a temporary fix or a permanent solution. Waterproof tape, epoxy putty, and clamps each have their place—but using them correctly is what prevents repeated failures.
The key takeaway is simple: diagnose first, repair second, and always escalate when pressure, scale, or structural risk exceeds DIY limits.
Final note: The faster you act, the more damage you prevent—but the smarter your method choice, the longer your repair will last.
Pillar Article: Automotive Hose Repair: Roadside Fix & Replacement Guide





