

Durable Tactical Backpacks Review: Top Picks For Heavy Load Use
How To Attach Molle Pouches Step-By-Step For Secure Gear Setup
⏱ 8 min read
How do you attach MOLLE pouches securely?
How to attach MOLLE pouches correctly starts with weaving the pouch straps tightly through both the pouch webbing and backpack loops. This creates a locked connection that prevents bouncing, sagging, or loosening during hikes, camping trips, travel, or tactical outdoor use while keeping gear balanced and easy to access.
Learning how to attach MOLLE pouches properly can completely change how your backpack performs outdoors. Loose gear, shifting weight, and poorly attached accessories can make hiking uncomfortable and frustrating. With the right setup, you can create a secure, balanced, and organized pack that keeps your essentials exactly where you need them on every trip.
Ever reached for your flashlight, first aid kit, or multitool only to realize your pouch shifted halfway down the trail? A secure MOLLE setup prevents wasted time, improves comfort, and helps you move confidently through demanding outdoor conditions.
Explore Gear Organizers & Pouches and build a cleaner, more efficient backpack setup before your next trip.
💡 See it in action
Why MOLLE Systems Work So Well Outdoors
MOLLE stands for Modular Lightweight Load-carrying Equipment. The system uses rows of stitched webbing that allow pouches and accessories to attach securely to backpacks, tactical vests, travel bags, and outdoor gear carriers.
Unlike loose clip-on accessories, MOLLE systems distribute weight evenly and reduce movement while walking. That means less strain on your shoulders and fewer distractions on the trail.
Benefits of a secure MOLLE setup
- Keeps tools organized and easy to reach
- Prevents gear from swinging during movement
- Improves backpack balance and stability
- Allows customizable storage layouts
- Makes outdoor packing more efficient
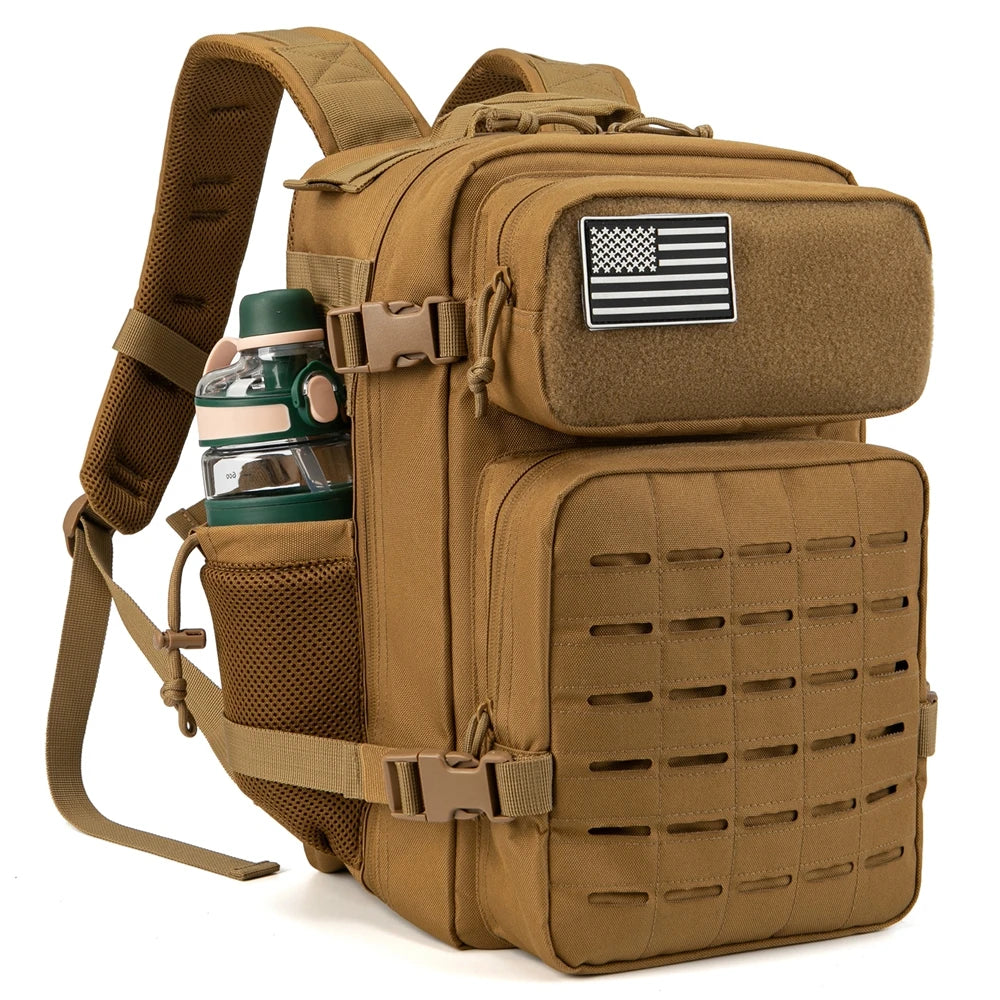
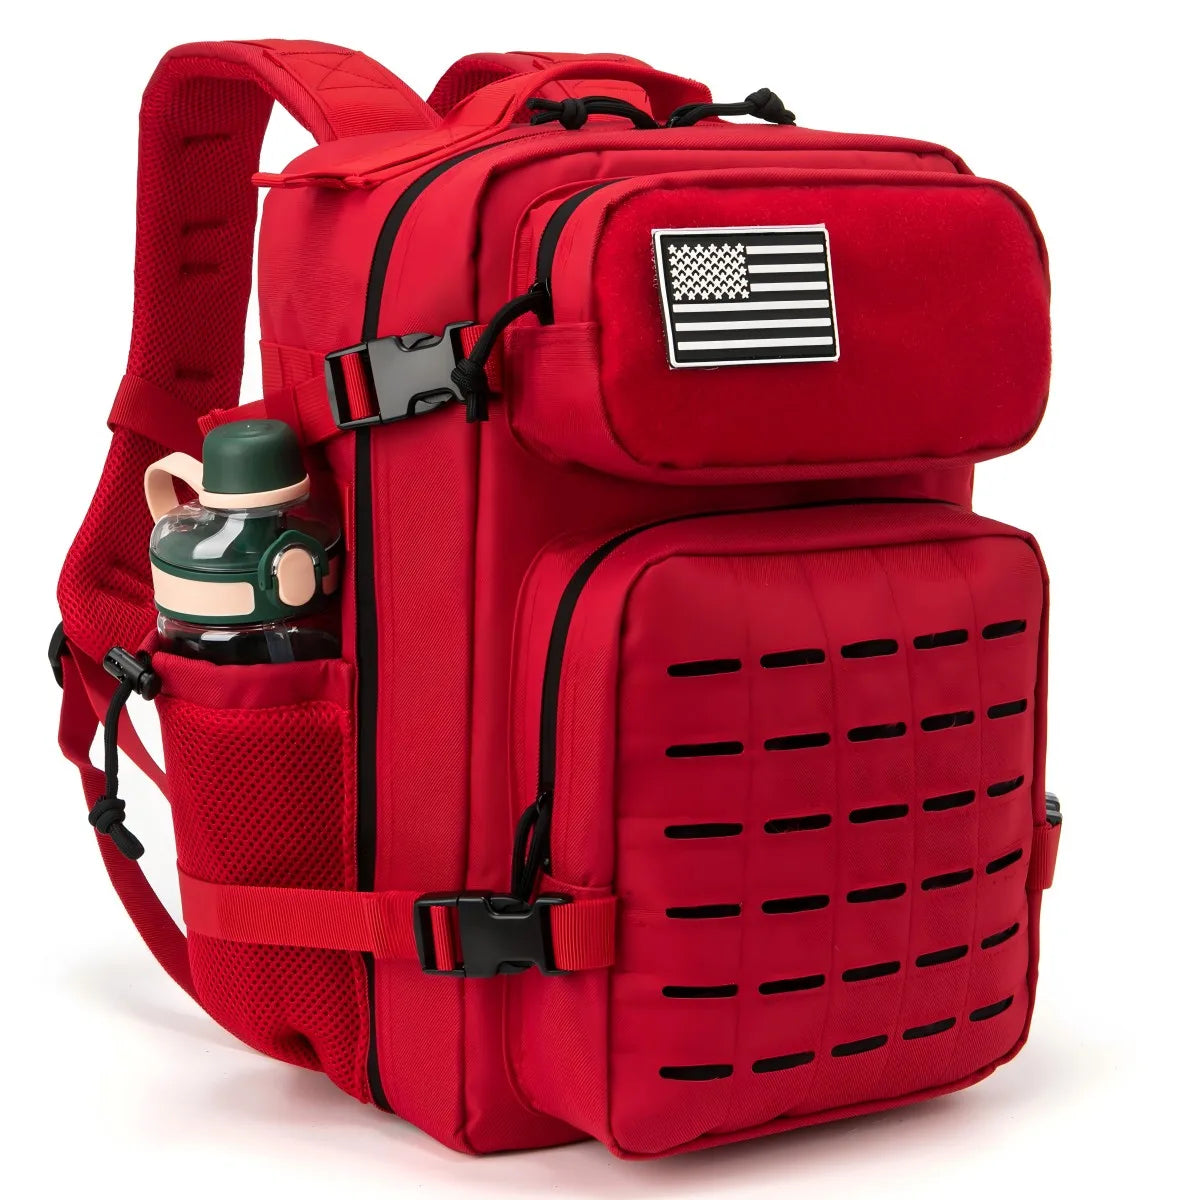
For hikers carrying hydration supplies, emergency tools, or cooking gear, a durable hiking backpack with MOLLE system offers far more flexibility than traditional storage designs.
| Standard Backpack | MOLLE Backpack Setup |
|---|---|
| Fixed storage layout | Customizable pouch placement |
| Loose accessories often shift | Secure woven attachment system |
| Harder to access small items | Quick-access gear organization |
| Less modular | Easily expandable |
Many outdoor travelers combine MOLLE systems with Compression & Packing Bags and Waterproof & Dry Bags to create a cleaner and weather-resistant packing setup.
How To Attach MOLLE Pouches Step-By-Step
How to attach MOLLE pouches properly involves weaving the pouch straps through alternating webbing rows on both the pouch and backpack. Tight weaving creates a locked fit that minimizes movement, improves load stability, and keeps outdoor essentials secure during long hikes, camping trips, and active travel situations.
-
Choose the right pouch location
Place heavier pouches near the center of the backpack to maintain balance. Frequently used gear should stay within easy reach. -
Line up the webbing rows
Match the pouch straps with the MOLLE loops on your backpack. Proper alignment prevents crooked attachment and uneven tension. -
Weave the straps tightly
Thread the strap through one row on the backpack, then back through the pouch webbing. Repeat this weaving pattern down the entire strap. -
Secure the snap or fastener
Once fully woven, close the snap or locking tab firmly. Tug the pouch lightly to test stability. -
Check movement before packing
Walk with the backpack and confirm nothing shifts excessively or loosens during movement.
Quick setup checklist before heading outdoors
- All straps fully woven
- No loose corners
- Weight evenly distributed
- Frequently used gear accessible
- Pouches tested while walking
If you regularly carry survival tools or medical gear, pairing your setup with First Aid Kits and Multi-tools & Knives can make your backpack more practical during emergencies.
Upgrade your outdoor carry system with this durable hiking backpack with MOLLE system.
Common MOLLE Setup Mistakes To Avoid
One of the biggest mistakes people make when learning how to attach MOLLE accessories properly is skipping the weaving process and only clipping the pouch loosely onto the pack.
This shortcut causes pouches to swing, bounce, and eventually detach during movement.
Most common attachment mistakes
- Using only one webbing row
- Leaving slack between loops
- Overloading one side of the pack
- Attaching heavy items too far outward
- Ignoring balance and weight distribution
Outdoor travelers often notice shoulder fatigue when pouch placement is uneven. Balanced setups reduce strain significantly on long-distance hikes.
💡 See it in action
Best MOLLE Pouch Placement For Comfort
Smart pouch placement matters just as much as proper attachment. Even securely attached pouches can create discomfort if positioned poorly.
Where to place common gear
| Gear Type | Best Placement |
|---|---|
| First aid kit | Upper side panel for quick access |
| Hydration tools | Rear center for balance |
| Flashlight or multitool | Front side pouch |
| Cooking supplies | Lower center area |
| Emergency gear | Easy-access exterior position |
Many hikers combine MOLLE systems with Hooks, Clips & Carabiners to secure gloves, mugs, or emergency accessories externally without wasting internal space.
If you camp in changing weather conditions, attaching rain protection gear using MOLLE straps can also save valuable pack space. Consider adding items from Rain Ponchos & Capes and Weather Protection & Environment.
Tips For Choosing Tactical Daypack Setups
The best tactical daypack setups focus on comfort, durability, accessibility, and modular expansion. Not every MOLLE backpack performs equally in real outdoor conditions.
When comparing backpacks, look for reinforced stitching, padded straps, breathable back panels, and strong webbing construction.
Features worth prioritizing
- Water-resistant materials
- Double-stitched MOLLE webbing
- Comfortable shoulder support
- Balanced internal storage
- Expandable side attachment zones
Outdoor users often prefer medium-capacity packs because they balance mobility and storage efficiently. A properly organized 25L setup works well for hiking, travel, camping, and emergency readiness.
One camper shared that reorganizing their backpack with MOLLE pouches reduced setup time at camp by nearly half because tools and cooking gear stayed accessible instead of buried inside the main compartment.
For lightweight adventures, combining your setup with Lightweight Daypacks and Backpacking & Carry solutions can improve flexibility without adding unnecessary bulk.
Essential MOLLE Gear Checklist
What gear actually makes camping easier? The answer often comes down to organization and accessibility rather than carrying more equipment.
Useful MOLLE-compatible accessories
- Medical pouch
- Hydration pouch
- Flashlight holder
- Multitool organizer
- Utility dump pouch
- Phone or GPS pouch
- Portable charger pouch
Many travelers also keep power gear accessible using Portable Power Banks and nighttime safety equipment from Headlamps & Wearable Lights.
| Outdoor Activity | Recommended MOLLE Add-ons |
|---|---|
| Camping | Cooking pouch, lantern holder, utility pouch |
| Hiking | Hydration pouch, first aid kit, multitool pouch |
| Travel | Electronics pouch, passport organizer |
| Emergency Prep | Medical pouch, flashlight holder, whistle kit |
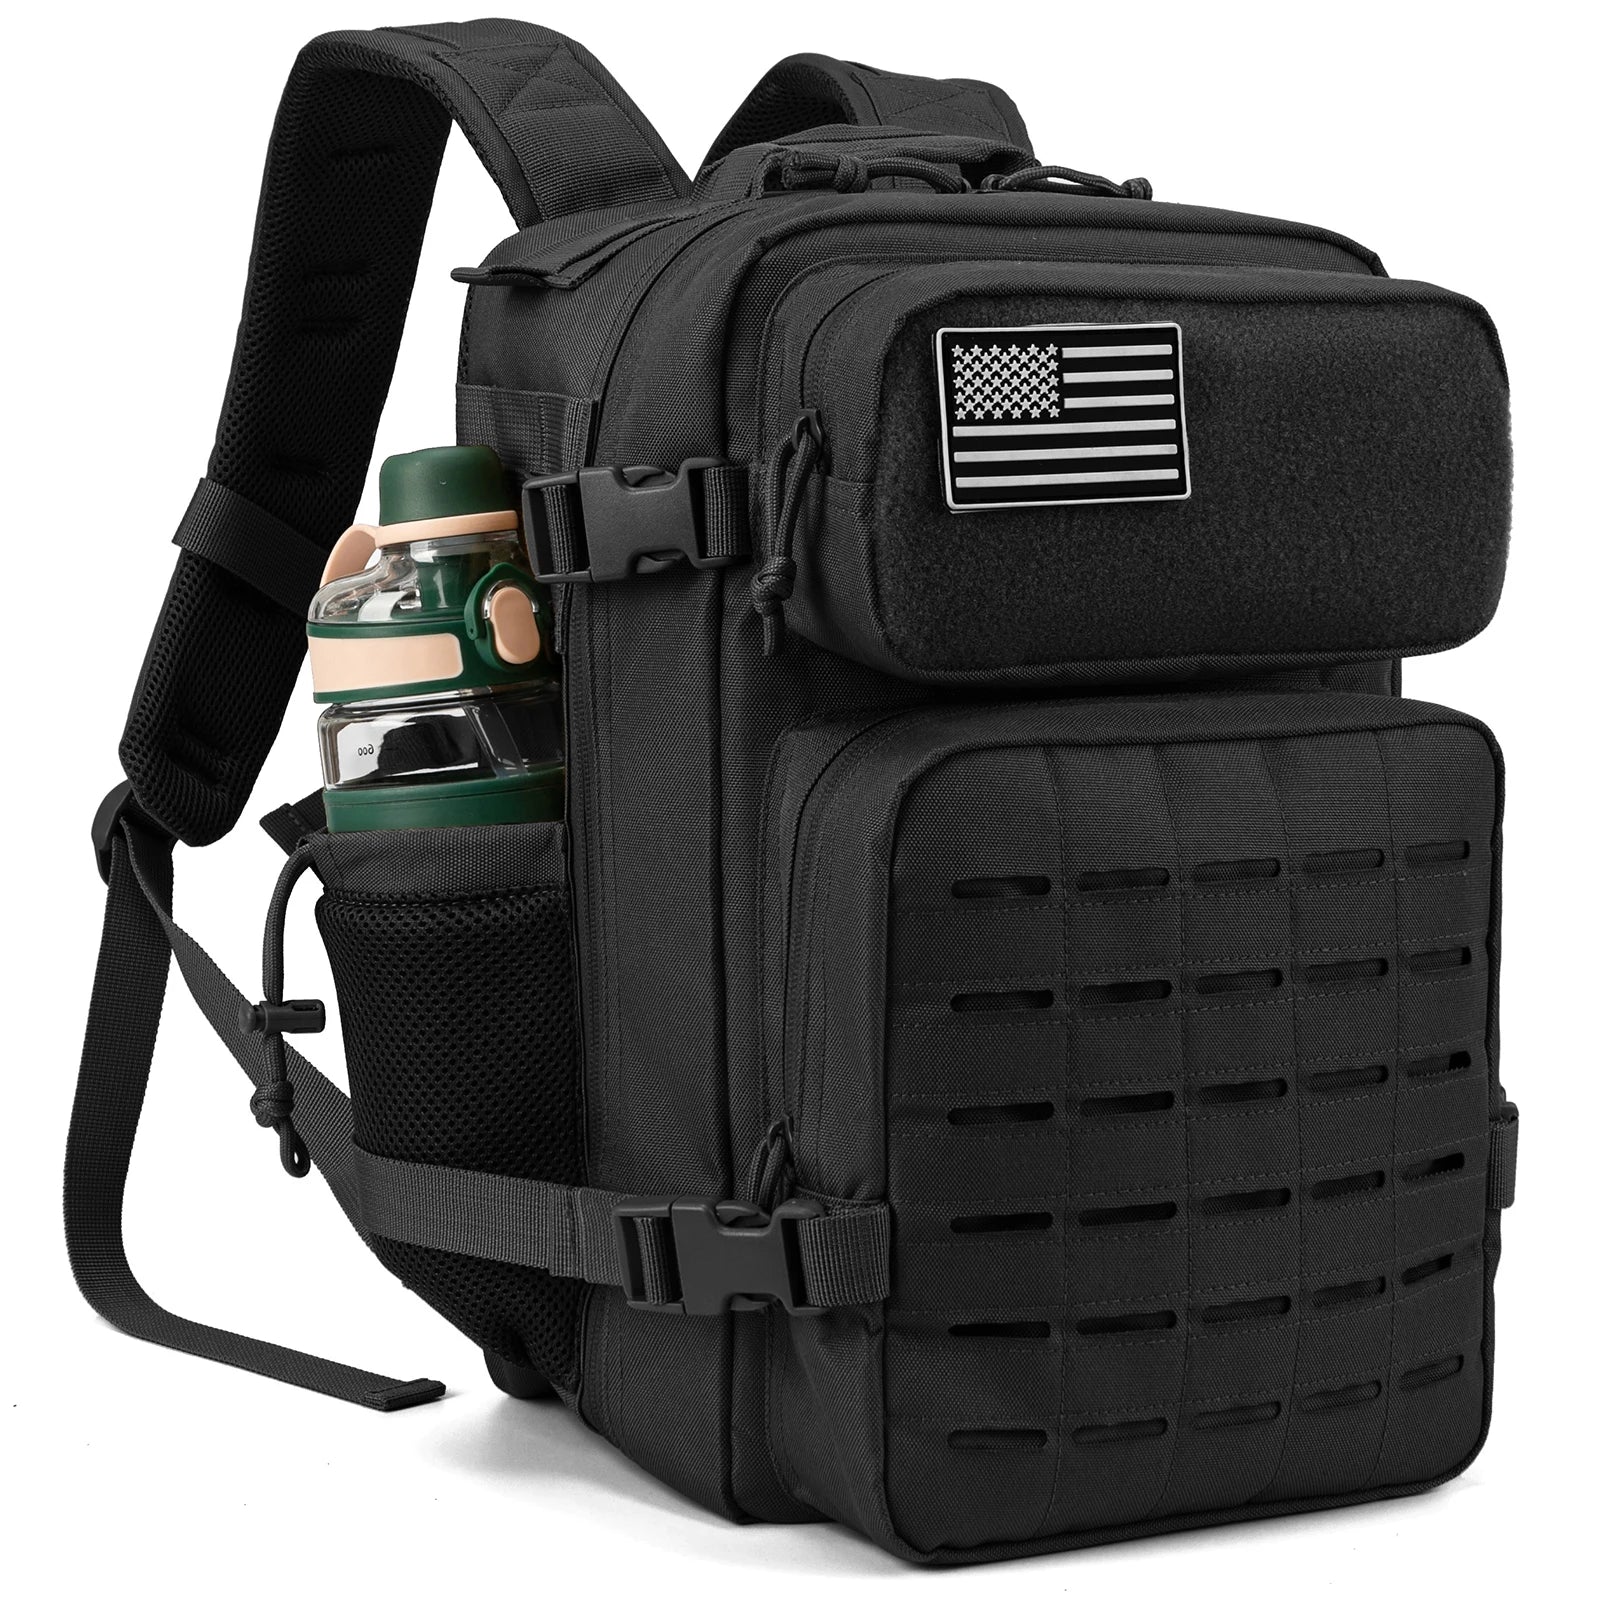
Build a smarter backpack setup with this tactical MOLLE hiking pack designed for secure outdoor organization and long-lasting comfort.
Outdoor Situations Where MOLLE Helps Most
MOLLE setups become especially valuable during high-movement activities where loose gear becomes frustrating or unsafe.
Real-world outdoor uses
- Fast-access emergency gear during storms
- Hands-free organization while hiking steep trails
- Efficient cooking tool storage at camp
- Secure attachment for road trip accessories
- Balanced gear carrying during long-distance walks
Campers organizing larger setups often combine modular backpacks with Camping Storage & Boxes and Car Organizers & Storage for cleaner campsite management.
💡 See it in action
Build A More Reliable Outdoor Gear Setup
Learning how to attach MOLLE pouches properly gives you more than just extra storage. It creates a safer, more efficient outdoor setup that keeps gear stable, accessible, and comfortable during demanding conditions.
Whether you're planning a hiking trip, organizing emergency supplies, or building a tactical daypack for travel, secure pouch attachment helps eliminate frustration while improving confidence outdoors.
The right backpack layout can make every mile feel smoother, especially when your gear stays exactly where it should.
FAQ
How tight should MOLLE pouches be attached?
MOLLE pouches should fit tightly with no visible slack between the pouch and backpack webbing. Proper weaving prevents bouncing and shifting during movement.
Can MOLLE pouches fit any backpack?
MOLLE pouches only attach correctly to backpacks with compatible MOLLE or PALS webbing systems designed for woven attachment.
What is the best way to organize MOLLE gear?
Place heavy gear near the center of your back, keep emergency items accessible, and distribute weight evenly across both sides of the backpack.
Why do MOLLE pouches come loose over time?
Pouches usually loosen when straps are clipped loosely instead of woven through every webbing row. Tight weaving creates the most secure hold.
Are MOLLE backpacks good for hiking?
Yes. A durable hiking backpack with MOLLE system allows modular storage, better organization, and customizable gear access for outdoor adventures.
Pillar Article: Best Backpack For Long Distance Hiking: 7 Packs Compared For Comfort & Durability
Other Related Articles:
- Everyday Carry Tactical Backpack Comparison: Best For Daily Gear?
- Dry Bag 40 Liter Vs Backpacks: Best Waterproof Storage Options
- Backpack Weight Distribution Tested: Which Feels Lightest On Trails?
- Waterproof Tactical Backpacks Compared: Which Keeps Gear Driest?
Explore More:





