

How to Pack a Hiking Backpack: The Complete System for Any Trip
How to Pack a Hiking Backpack Properly (Step-by-Step System for Any Trip)
A poorly packed backpack can turn an amazing hike into a painful experience. If your load feels unbalanced, too heavy, or hard to access, every step becomes harder than it should be. The solution isn’t just lighter gear—it’s a smarter system.
This guide teaches you a repeatable method for packing a hiking backpack using load zones, weight distribution principles, and real-world packing strategies. Whether you're heading out for a day hike or a multi-day trek, this system helps you stay comfortable, organized, and efficient.
What Is the Best Way to Pack a Hiking Backpack? (Quick Answer)
The best way to pack a hiking backpack is to use a three-zone system: place bulky, low-use items at the bottom, heavy gear close to your spine in the middle, and lightweight essentials on top or in accessible pockets. This keeps your center of gravity stable and reduces strain.
The 3 Core Packing Rules for Balance and Comfort
- Keep heavy items close to your spine: This maintains balance and reduces fatigue.
- Distribute weight evenly: Avoid pulling weight to one side.
- Keep essentials accessible: Frequently used items should be easy to reach.
Understanding Hiking Backpack Weight Distribution

Weight distribution is the foundation of efficient backpacking. A properly balanced pack reduces strain on your back, improves posture, and allows you to hike longer with less fatigue.
Why Proper Weight Distribution Matters
When weight is too far from your body, it pulls you backward. When it's uneven, it strains your shoulders and hips. Proper packing aligns the load with your center of gravity, making movement more natural and energy-efficient.
Ideal Weight Ratios for Different Trip Types
- Day hikes: 10–15% of body weight
- Weekend trips: 15–25% of body weight
- Multi-day treks: 20–30% of body weight
Visual Load Distribution Table (Top, Middle, Bottom Zones)
| Zone | Type of Gear | Purpose |
| Bottom | Sleeping bag, bulky items | Stability and cushioning |
| Middle | Food, cooking gear, water | Weight balance near spine |
| Top | Jacket, snacks, essentials | Quick access |
The Load Zone Packing Method (Step-by-Step System)
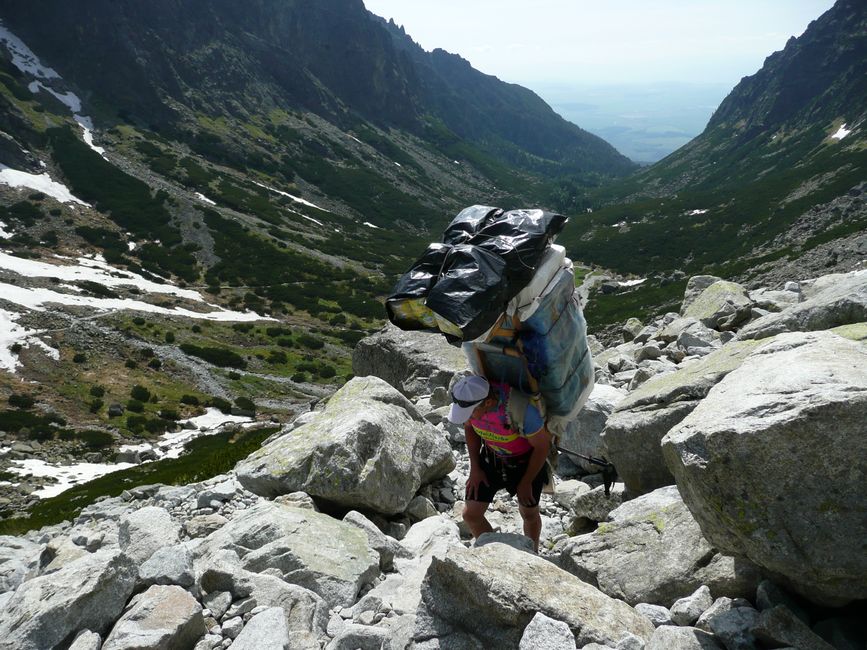
This method is the most reliable way to pack any hiking backpack. It ensures optimal balance, accessibility, and efficiency across all trip types.
Bottom Zone: Bulky & Sleep System Gear
Place soft, bulky items like sleeping bags or clothing at the bottom. These items act as a cushion and provide a stable base.
For gear organization, many hikers use compression sacks from the Compression & Packing Bags collection to reduce space and keep items compact.
Core Zone: Heavy Gear Close to Spine
This is the most critical zone. Store dense items like food, water, and cooking equipment here. Keeping weight close to your back improves balance and reduces strain.
Explore efficient cooking setups in the Camping Stoves & Cooking collection to optimize this zone.
Top Zone: Lightweight Essentials & Quick Access
Pack items you need frequently—like rain jackets, maps, or snacks—at the top. This allows quick access without unpacking your entire bag.
Weather-ready gear can be found in the Weather Protection & Environment collection.
External Pockets & Attachment Points
Use side pockets for water bottles and outer loops for tools. Carabiners and clips from the Hooks, Clips & Carabiners collection help attach gear securely.
Choosing a well-designed backpack is crucial. For example, the Tactical Hiking Backpack for Organized Outdoor Gear offers multiple compartments and MOLLE webbing for efficient packing.

Explore how it organizes gear efficiently
Packing Templates by Trip Type (Copy & Use)

Day Hike Packing Template
- Water bottle or hydration pack
- Snacks
- Light jacket
- First aid kit
Weekend Backpacking Packing List
- Sleeping bag (bottom)
- Cooking gear (middle)
- Clothing layers (top)
Multi-Day Trek Packing System
- Layered clothing system
- Food storage from Food Storage Bags & Containers
- Water filtration gear from Personal Water Filters
Ultralight vs Traditional Backpack Packing
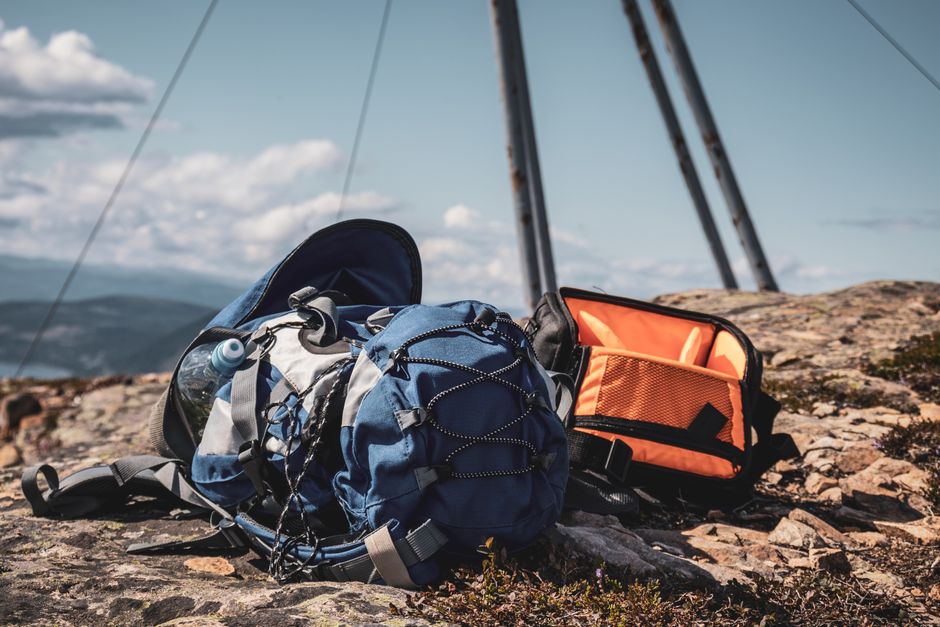
What Is an Ultralight Backpacking System?
Ultralight backpacking focuses on minimizing weight by using lighter gear and reducing non-essential items.
Key Differences in Packing Strategy
| Aspect | Ultralight | Traditional |
| Weight | Minimal | Moderate to heavy |
| Gear | Multi-purpose | Specialized |
| Comfort | Less padding | More comfort items |
Which System Should You Choose?
If you're a beginner, start with traditional packing for comfort. As you gain experience, gradually adopt ultralight techniques.
Backpacking Checklist Essentials (Printable System)

Core Gear Categories
- Sleep system (see Sleeping Bags & Sleeping Pads)
- Cooking gear
- Hydration (explore Hydration & Food collection)
- Lighting (browse Camping Lights & Lanterns)
Printable Packing Checklist
Create a checklist before every trip to ensure nothing is forgotten. Group items by zone to streamline packing.
Explore more backpacking gear setups
Common Backpack Packing Mistakes (And How to Fix Them)

Top 7 Packing Mistakes Beginners Make
- Packing heavy items too far from the back
- Overpacking unnecessary gear
- Ignoring weight distribution
- Not organizing items properly
Quick Fix Guide for Each Mistake
- Repack using the load zone method
- Use packing cubes or organizers
- Reduce redundant items
How to Choose the Right Backpacking Pack Size
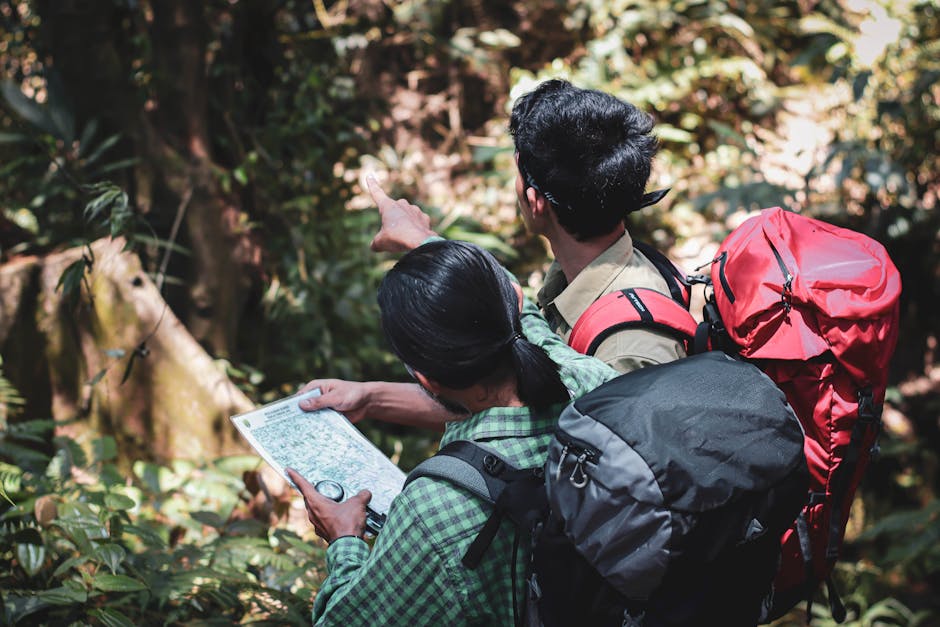
Backpacking Pack Size Explained (Liters Guide)
- 20–30L: Day hikes
- 30–50L: Weekend trips
- 50–70L: Multi-day treks
Matching Pack Size to Trip Duration
Choose based on trip length and gear needs. Larger packs are useful for cold weather or group gear.
Pro Tips for Efficient Camping Gear Organization
Using Waterproof Camping Gear Storage Bags
Protect your gear from moisture using dry bags from the Waterproof & Dry Bags collection.
Food Storage for Backpacking Efficiency
Use compact containers and organize food by meal.
Hydration Systems Hiking Setup
Hydration packs make drinking water easier on the move. The Lightweight Hydration Backpack for Cycling & Hiking is a great example of efficient hydration design.

FAQ
What is the correct way to pack a hiking backpack for balance and comfort?
Use the load zone method: heavy items close to your spine, light items on top, and bulky gear at the bottom.
How do you organize a backpacking bag for a weekend trip?
Separate gear into zones and use packing bags for organization. Keep essentials accessible.
What should beginners pack in a hiking backpack?
Start with essentials: water, food, clothing layers, first aid, and navigation tools.
How do you choose the right backpacking pack size?
Select based on trip duration and gear volume. A 30–50L pack works for most beginners.
What is the difference between ultralight and traditional backpack packing?
Ultralight focuses on minimizing weight, while traditional prioritizes comfort and durability.
Conclusion
Packing a hiking backpack properly isn’t about guessing—it’s about following a system. By using load zones, balancing weight, and adapting your setup to each trip, you’ll hike more comfortably and efficiently.
Start applying this method on your next trip, refine it with experience, and build a system that works for you.
Explore more gear setups and packing solutions
Related Articles:
- Carabiner Clips Heavy Duty: Safety Comparison Guide for Camping, Climbing & Tactical Use (2026)
- Outdoor Tent Lights: Build the Perfect Campsite Lighting System (2026 Guide)
- The Ultimate Camping Gear Organization System: Budget-Friendly Packing Frameworks & Checklists
- What Tent Is Best for Camping? Complete Beginner-to-Expert Setup Guide (2026)
- Best Portable Camping Stoves (2026): Top Picks for Backpacking, Car Camping & Families





